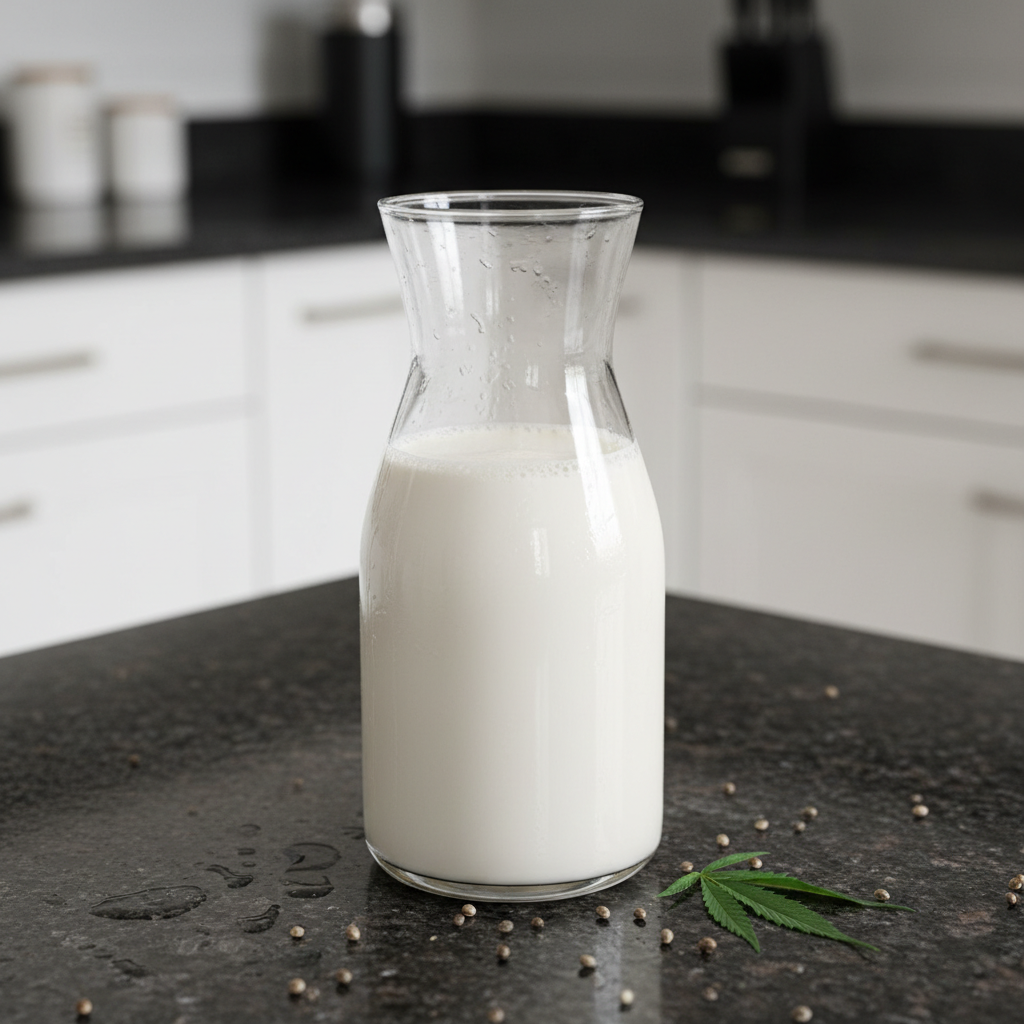
I’ll never forget the first time I tasted Homemade Almond Milk. The delicate, creamy texture and fresh almond flavor were a revelation compared to the chalky, often overly-sweetened store-bought versions. This recipe will show you how to make incredibly delicious almond milk right in your own kitchen. Get ready to enjoy a simple recipe that delivers a creamy, flavorful result with a unique twist that will elevate your almond milk to a whole new level.
Why You’ll Love This Homemade Almond Milk Recipe
This recipe isn’t just another way to make plant-based milk; it’s a game-changer.
Unique Flavor Boost: The secret ingredient? A touch of sea salt and almond extract. This elevates the flavor profile beyond anything you’ve tasted before.
Perfectly Balanced: The sea salt doesn’t make it salty; instead, it balances the sweetness and enhances all the other flavors, creating a harmonious blend.
Intense Almond Taste: The almond extract provides a concentrated burst of almond flavor, making it richer and more satisfying. It will also help to avoid the blandness common in homemade almond milk.
Quick and Easy: You can whip up a batch in just minutes, making it perfect for busy mornings or a quick afternoon snack.
Customizable: Adjust the sweetness and flavor to perfectly match your taste preferences. Want it sweeter? Add more dates! Prefer vanilla? Go for it!
Healthier Choice: Skip the preservatives and additives found in store-bought options. This is a pure, wholesome, dairy-free, and vegan-friendly beverage.
Sustainable: Making your own almond milk reduces packaging waste and is a more environmentally friendly choice.
Ingredients Needed

- 1 cup almonds soaked overnight
- 3 cups water filtered
Ingredient Notes & Substitutions
Let’s talk ingredients. Quality makes a difference!
Almonds: I recommend using raw, unsalted almonds for the best flavor. California almonds are readily available and have a mild, sweet taste. Spanish almonds, on the other hand, tend to be a bit more flavorful and slightly bitter. Avoid roasted almonds, as they won’t blend as well and can impart an off-flavor. For more information, you might find this article about almond inspection and grading useful.
Water: Always use filtered water. Tap water can contain chlorine and other impurities that can affect the taste of your almond milk.
Sweeteners: While I love using medjool dates (as noted in the recipe instructions below), you can substitute with other sweeteners. Maple syrup, agave, or stevia are all great options. Keep in mind that maple syrup and agave will add a distinct flavor, while stevia is intensely sweet, so use sparingly.
Flavor Enhancers: Vanilla extract is a classic addition to almond milk. A teaspoon of high-quality vanilla extract can add a warm, comforting flavor. And don’t skip the almond extract! It really amplifies the almond taste.
Emulsifiers: If you want an even creamier texture and don’t mind using additives, consider adding a tiny pinch of lecithin. Lecithin aids in emulsification, preventing the almond milk from separating.

How to Make Homemade Almond Milk
Let’s get started! This process is incredibly straightforward.
Step 1: Soaking the Almonds
Soaking the almonds is a crucial step. It softens them, making them easier to blend and improving their digestibility. It also helps to release phytic acid, which can inhibit nutrient absorption. Soak the almonds in plenty of water for at least 8 hours, or overnight. The water should be at room temperature. Drain and rinse the almonds thoroughly before blending.
Step 2: Blending
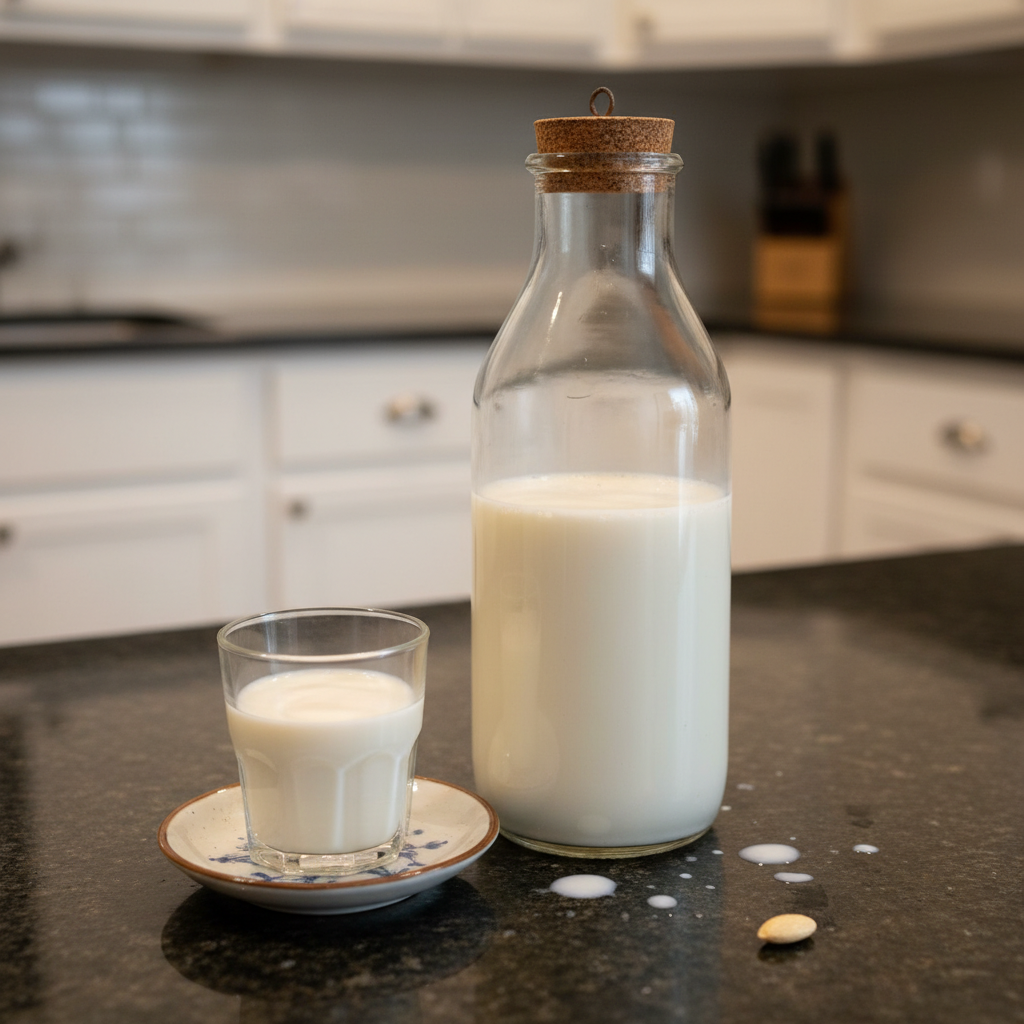
Place the soaked and rinsed almonds in a high-speed blender with 3 cups of filtered water. Blend until the mixture is smooth and creamy, about 1 minute. The mixture should be opaque and have a milky appearance. If you don’t have a high-speed blender, you may need to blend for a bit longer. Cheaper blenders will not produce the same smooth result.
Step 3: Straining
Pour the blended mixture into a nut milk bag placed over a large bowl. Gently squeeze the bag to extract all the milk. Squeeze every last drop to ensure you get all the liquid. The remaining almond pulp will be dry. If you don’t have a nut milk bag, you can use cheesecloth or a fine-mesh sieve lined with muslin cloth. However, a nut milk bag is much more efficient and produces a smoother result.
Step 4: Flavoring (Unique Twist Emphasis)
This is where the magic happens! Add a pinch of sea salt (about 1/8 teaspoon) and 1/4 teaspoon of almond extract to the strained almond milk. The sea salt enhances the sweetness and other flavors, while the almond extract provides a concentrated almond taste. Taste and adjust the sweetness as needed. If you like it sweeter, add a medjool date (pitted) or a touch of maple syrup.
Step 5: Chilling and Storage
Pour the flavored almond milk into an airtight container and chill in the refrigerator for at least 2 hours before serving. Chilling allows the flavors to meld together and the milk to thicken slightly. Store in the refrigerator for up to 5 days.
What About the Almond Pulp?
Don’t throw away that leftover almond pulp! It’s full of nutrients and can be used in a variety of ways.
Almond Flour: Spread the almond pulp on a baking sheet and dry it in a low oven (around 170°F or 77°C) until completely dry. Then, grind it into almond flour using a food processor or blender. Almond flour can be used in gluten-free baking recipes.
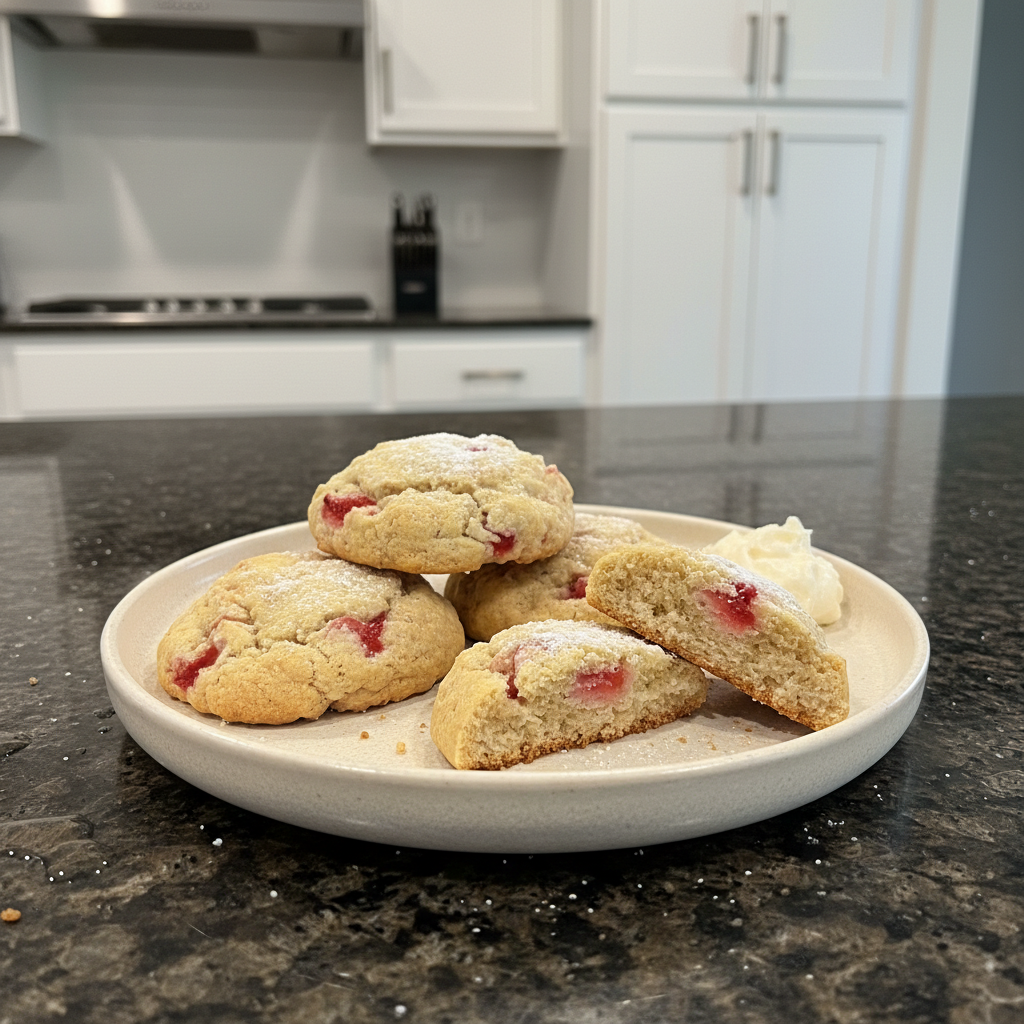
Baking: Add the almond pulp to cookies, muffins, or bread recipes for added texture and flavor. It adds a lovely moistness.
Composting: If you don’t want to use the almond pulp for cooking, you can compost it. It’s a great addition to your compost pile.
Skincare: Some people use almond pulp for face and body scrubs. It can help to exfoliate and soften the skin. I have never tried this so cannot recommend but it seems safe.
Pro Tips & Troubleshooting
Pro Tips
- Use high-quality almonds for the best flavor.
- Soak almonds for at least 8 hours or overnight for optimal creaminess.
- Don’t over-blend, as this can heat the mixture and affect the taste.
- Add a pinch of sea salt and almond extract (don’t skip this unique twist!).
- Adjust the amount of sweetener to your liking.
- Use a clean nut milk bag for straining.
- Store homemade almond milk in an airtight container in the refrigerator.
- Experiment with different flavor combinations, such as vanilla or cinnamon.
Common Mistakes to Avoid
- Not soaking the almonds long enough.
- Using too much water, resulting in thin almond milk.
- Over-blending, leading to a bitter taste.
- Not straining properly, leaving a grainy texture.
- Adding too much sweetener.
- Using old or rancid almonds.
Serving & Storage
Serving Ideas
- Drink it plain as a refreshing beverage.
- Use it in your morning breakfast cereal or oatmeal.
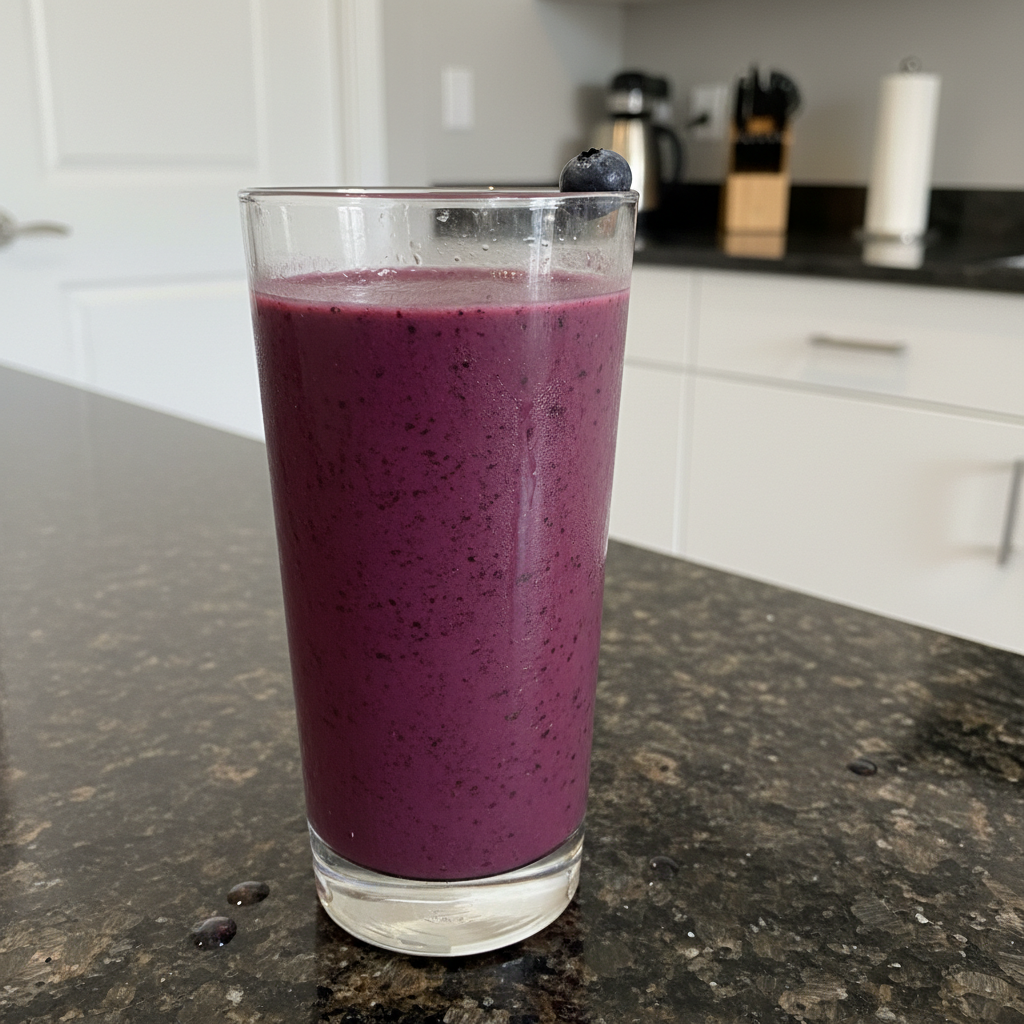
Here’s another great idea! - Blend it into smoothies for a creamy texture.
- Use it as a dairy-free alternative in coffee or tea (hazelnut milk is also a good alternative for coffee).
- Use it as a base for soups and sauces.
- Use it in raw vegan ice-cream.
Storage and Make-Ahead
Homemade almond milk should be stored in an airtight container in the refrigerator and will last for up to 5 days.
Freezing: You can freeze almond milk for longer storage. Pour it into ice cube trays or freezer-safe containers. Keep in mind that the texture may change slightly after thawing; it might become a bit grainy.
Reheating: After thawing, shake or blend the almond milk to restore its consistency.
Conclusion
Making your own Homemade Almond Milk is incredibly rewarding. It’s easy, customizable, and so much healthier than store-bought versions. Plus, with the unique twist of sea salt and almond extract, you’ll be amazed at the enhanced flavor. This recipe will turn you into a homemade almond milk enthusiast!
Print this recipe and share it with your friends! Also explore my other homemade beverages for more delicious and healthy options. If you’re interested in the nutritional aspects, you can read about dairy alternatives on Nutrition.gov.
FAQ
Here are some frequently asked questions about making almond milk:
How long does homemade almond milk last, and how should it be stored?
Homemade almond milk typically lasts for 3-5 days in the refrigerator. Store it in an airtight container to maintain freshness.
Why do I need to soak the almonds, and what happens if I don’t?
Soaking softens the almonds, making them easier to blend and improving digestibility. Not soaking can result in a grainy texture.
What are some variations I can try to change the flavor of my almond milk?
You can add vanilla extract, cinnamon, cocoa powder, or different types of sweeteners to change the flavor.
What can I use almond milk for, besides drinking it plain?
Almond milk can be used in smoothies, coffee, cereal, baking, and cooking.
How do I make almond milk thicker and creamier?
Use more almonds per cup of water, add a thickening agent like lecithin, or blend for a longer time.
What can I do with the leftover almond pulp after making almond milk?
You can dry it and grind it into almond flour, use it in baking, or add it to smoothies.
Can I freeze almond milk?
Yes, you can freeze almond milk, but the texture may change slightly after thawing. Consider using it in smoothies or baking after freezing.
“`
Easy Homemade Almond Milk Recipe (Creamy & Delicious)
Ingredients
Equipment
Method
- Soak the almonds in plenty of water for at least 8 hours, or overnight. The water should be at room temperature. Drain and rinse the almonds thoroughly before blending.
- Place the soaked and rinsed almonds in a high-speed blender with 3 cups of filtered water. Blend until the mixture is smooth and creamy, about 1 minute. The mixture should be opaque and have a milky appearance.
- Pour the blended mixture into a nut milk bag placed over a large bowl. Gently squeeze the bag to extract all the milk. Squeeze every last drop to ensure you get all the liquid. The remaining almond pulp will be dry.
- Add a pinch of sea salt (about 1/8 teaspoon) and 1/4 teaspoon of almond extract to the strained almond milk. Taste and adjust the sweetness as needed. If you like it sweeter, add a medjool date (pitted) or a touch of maple syrup.
- Pour the flavored almond milk into an airtight container and chill in the refrigerator for at least 2 hours before serving. Chilling allows the flavors to meld together and the milk to thicken slightly. Store in the refrigerator for up to 5 days.
Notes
Lia Monet is a food blogger, recipe developer, and the founder of EasyAsMeals, a food blog focused on easy recipes, quick dinners, and everyday home cooking. She creates tested, family-friendly recipes using simple ingredients to help busy families cook affordable and delicious meals at home.