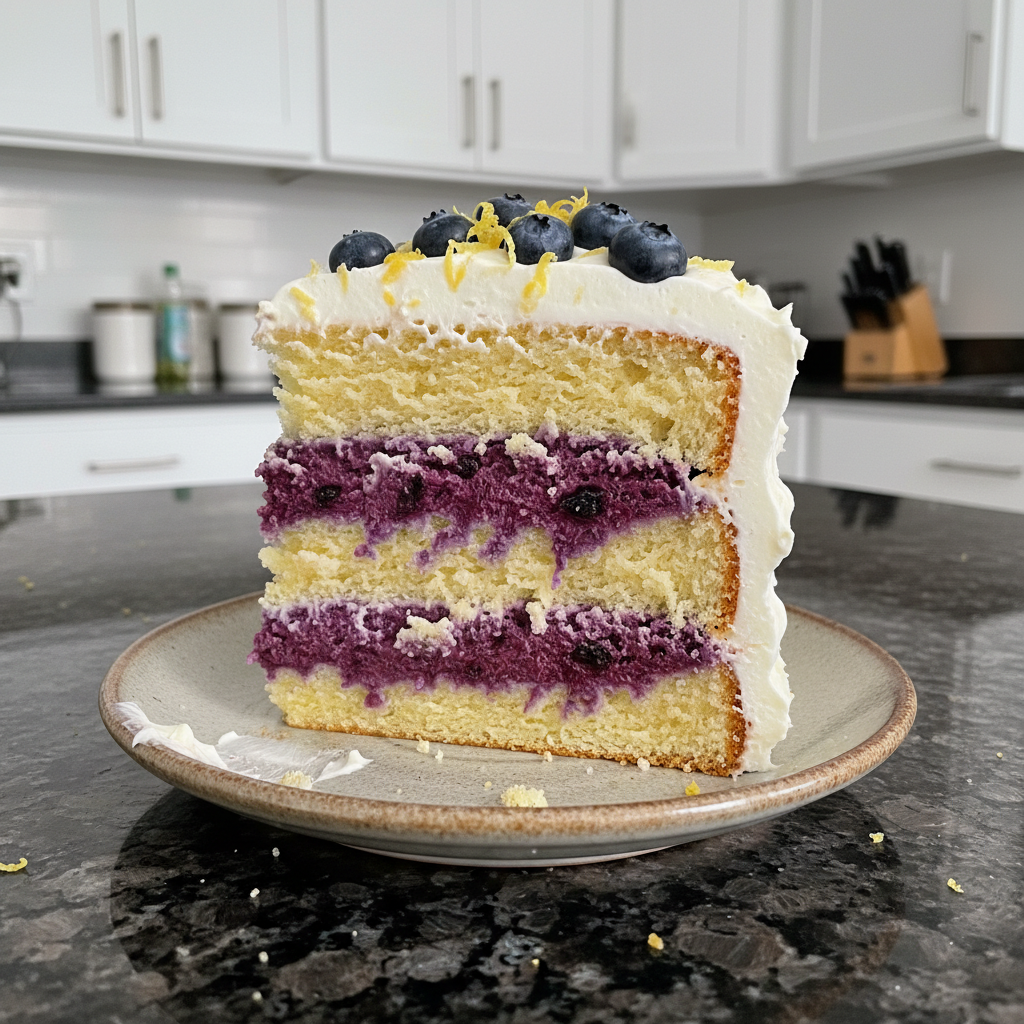
Looking for the perfect summer dessert? Something that doesn’t require turning on the oven? This Cherry Cheesecake Icebox Cake is the answer! It’s incredibly easy to make, requires no baking, and is bursting with creamy, cherry cheesecake flavor. This no-bake dessert is perfect for warm weather, and this recipe shows you how to make a classic icebox cake with a delicious cherry cheesecake twist. The secret? A simple, homemade cherry sauce!
Why You’ll Love This Recipe
This Cherry Cheesecake Icebox Cake is destined to become your new favorite dessert. Here’s why:
Homemade Cherry Sauce: The star of this recipe is the homemade cherry sauce. This elevates the flavor of the cake, offering a fresh, vibrant taste you just can’t get from canned cherry pie filling.
Easy to Make: This is a no-bake recipe, meaning minimal effort and no oven required! It’s quick to assemble, making it perfect for busy days.
Crowd-Pleasing Dessert: This icebox cake is always a hit at family gatherings, potlucks, or any occasion where you need a delicious and impressive dessert.
Make Ahead: You can make this cake a day or two in advance. This makes it great for meal prep or when you’re expecting company.
Ingredients Needed
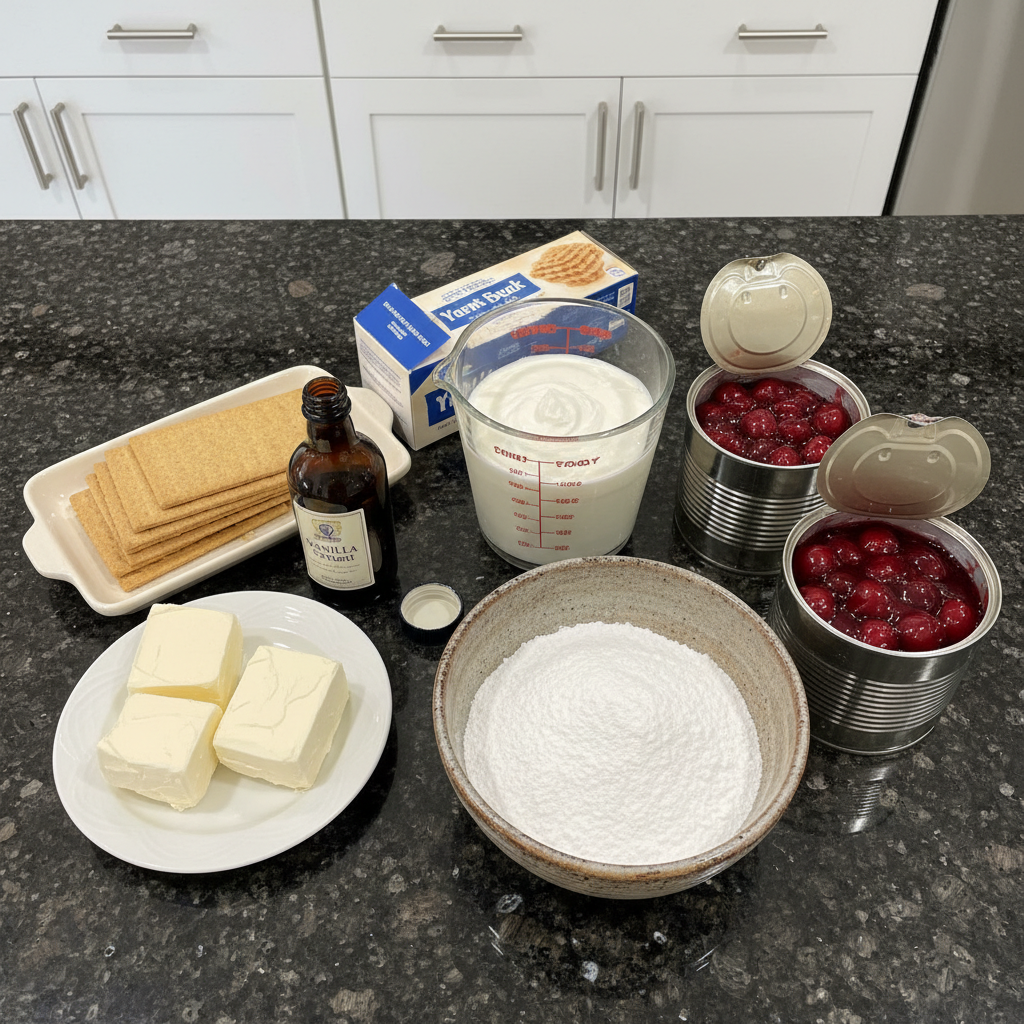
Here are the ingredients you’ll need to make this delightful Cherry Cheesecake Icebox Cake:
4 Cups heavy whipping cream (cold)
2 Cups powdered sugar
24 Ounces cream cheese (at room temperature)
2 Teaspoons vanilla extract
1 Box graham crackers
3 Cans cherry pie filling (21-Ounce cans )
Ingredient Notes & Substitutions
Cream Cheese: It’s crucial to use room-temperature cream cheese. This ensures a smooth, lump-free filling. You can use full-fat or low-fat cream cheese. Keep in mind that the full-fat version will result in a richer, creamier texture. For more information, you might want to read about the USDA’s standards for cream cheese.
Heavy Whipping Cream: Make sure your heavy whipping cream is cold. This helps it whip up faster and creates a more stable whipped cream. While you can use Cool Whip for convenience, the texture won’t be quite as rich as homemade whipped cream.
Graham Crackers: For a gluten-free version, use gluten-free graham crackers. They work just as well and allow everyone to enjoy this delicious dessert.
Cherry Pie Filling: While I highly recommend my homemade cherry sauce, the classic recipe uses canned cherry pie filling. If you opt for canned, be aware that sweetness levels can vary between brands, so adjust accordingly.
How to Make Cherry Cheesecake Icebox Cake
Follow these simple steps to create your own Cherry Cheesecake Icebox Cake:
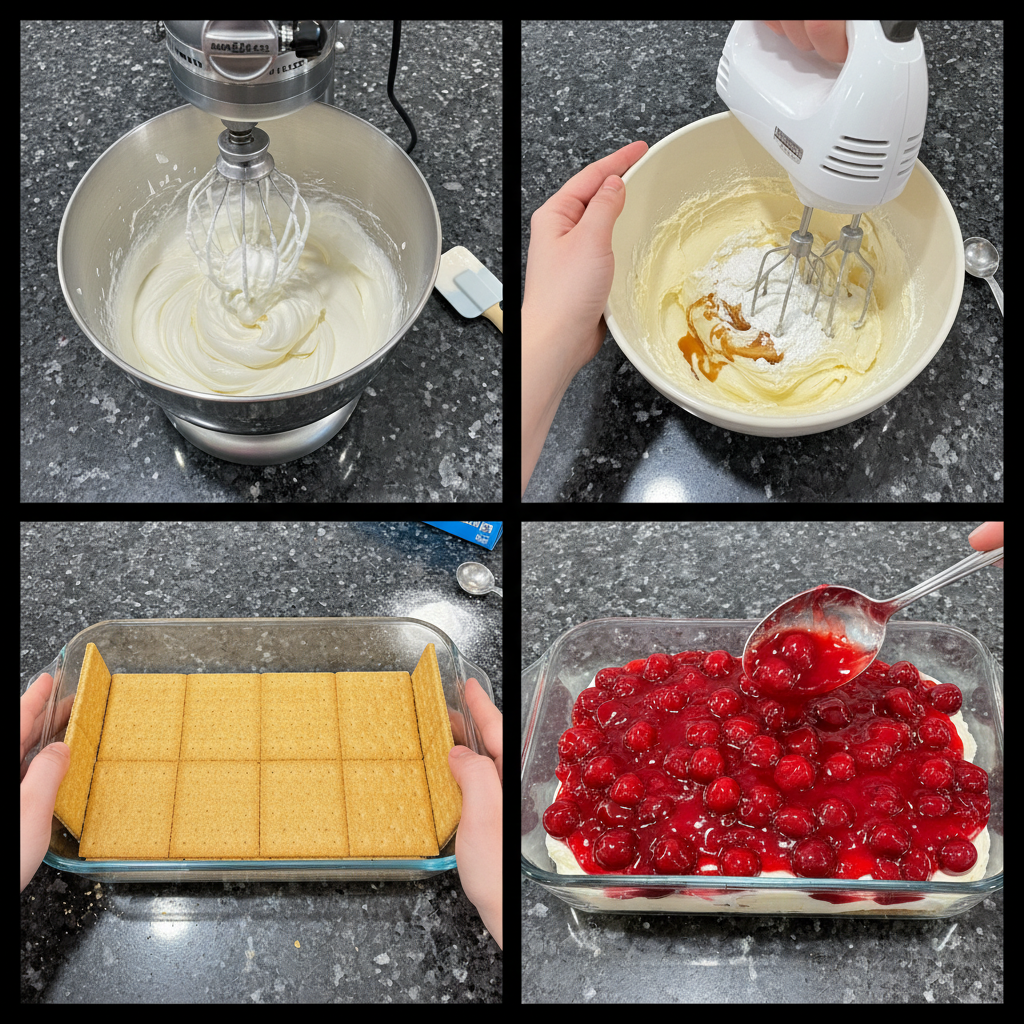
Step 1: Whipping the Cream
In a large bowl, whip the cold heavy whipping cream and 1 cup of powdered sugar together using an electric mixer. Beat for 7 to 8 minutes, or until thick and stiff peaks form. A chilled bowl and beaters will help the cream whip up faster. Be careful not to overwhip the cream, as it can turn grainy.
Step 2: Cream Cheese Mixture
In a separate large bowl, use the electric mixer again to combine the cream cheese, the remaining 1 cup of powdered sugar, and vanilla extract. Mix until the mixture is smooth and creamy. Make sure the cream cheese is at room temperature to avoid lumps.
Step 3: Combining Mixtures
Gently mix the whipped cream into the cream cheese mixture at low speed until everything is well combined. Mixing at low speed helps maintain the volume of the whipped cream, keeping the filling light and airy.
Step 4: Assembling Layers
Now it’s time to assemble the dessert! Lay out a single layer of graham crackers along the bottom of an ungreased 9 x 13-inch baking pan or dish. Spread a thin, even layer of the cheesecake filling over the graham crackers. Then, spoon out one can of the cherry pie filling, distributing it evenly. Carefully spread another thin layer of the cheesecake filling over the cherry pie filling. Place another single layer of graham crackers on top.
Step 5: Repeat Layers
Repeat the layering process one more time: graham crackers, cheesecake filling, cherry pie filling, and cheesecake filling. Finish with a final layer of graham crackers.
Step 6: Chilling
After you add the last layer of graham crackers from the previous step, spread the remaining cheesecake filling on top. Wrap the dessert tightly with plastic wrap and refrigerate for at least 3 hours. This chilling time allows the flavors to meld together and the graham crackers to soften.
Step 7: Serving
When you are ready to serve the dessert, spoon the last can of cherry pie filling on top, spreading it evenly. Serve the Cherry Cheesecake Icebox Cake chilled. For an even better texture, chill it longer.
Homemade Cherry Sauce
This simple homemade cherry sauce replaces the canned cherry pie filling in the original recipe, and it’s what truly makes this Cherry Cheesecake Icebox Cake special. It’s fresher, less processed, and you can customize the sweetness to your liking.
Ingredients:
4 Cups fresh or frozen cherries, pitted
1/2 Cup granulated sugar (adjust to taste)
2 Tablespoons lemon juice
2 Tablespoons cornstarch (or other thickener, like tapioca starch)
1/4 Cup water
Instructions:
Combine the cherries, sugar, lemon juice, cornstarch, and water in a medium saucepan.
Bring the mixture to a simmer over medium heat, stirring occasionally.
Continue to simmer for about 10-15 minutes, or until the sauce has thickened to your desired consistency. Stir frequently to prevent sticking. You can learn more about how starch thickens sauces online.
Remove the saucepan from the heat and let the cherry sauce cool completely before using it in the icebox cake. As it cools, it will thicken further.
Tips: If you prefer a sweeter sauce, add more sugar. For a thicker sauce, use slightly more cornstarch. Store leftover cherry sauce in an airtight container in the refrigerator for up to a week.
Pro Tips & Troubleshooting
Pro Tips
Use room-temperature cream cheese for a smooth, lump-free filling.
Chill the bowl and beaters before whipping the cream for faster results.
Use an offset spatula to spread the layers of filling evenly.
Make the homemade cherry sauce a day ahead of time to save time.
Use a serrated knife to cut the cake neatly into squares.
Gently press down on the graham cracker layers to help them adhere to the filling.
Common Mistakes to Avoid
Avoid over-whipping the cream, which can cause it to become grainy.
Don’t use cold cream cheese, as this can result in a lumpy filling.
Avoid letting the cake sit out at room temperature for too long, as this can cause the graham crackers to become soggy.
Be sure to chill the cake for at least 3 hours to allow the flavors to meld and the graham crackers to soften properly.
Serving & Storage
Serving Ideas
Sprinkle the cake with chocolate shavings or chopped pecans for added flavor and texture.
Serve with a scoop of vanilla ice cream for an extra-indulgent treat.
Pair with a light and refreshing drink, such as lemonade or iced tea.
Garnish with fresh cherries for a beautiful presentation.
Storage and Make-Ahead
Store any leftover Cherry Cheesecake Icebox Cake covered in the refrigerator for up to 3 days.
For longer storage, you can freeze the cake. Wrap it tightly in plastic wrap and then in foil. Thaw in the refrigerator before serving.
To prevent the graham crackers from getting too soggy during storage, make sure the cake is well-chilled before covering it. You can also add a thin layer of melted chocolate between the graham crackers and the filling to act as a barrier against moisture.
Conclusion
This Cherry Cheesecake Icebox Cake is the perfect no-bake dessert for any occasion. It’s easy to make, incredibly delicious, and always a crowd-pleaser. By using homemade cherry sauce, you’ll elevate the flavor to a whole new level. Craving more delightful desserts? Consider trying these delicious strawberry shortcake cookies! So, gather your ingredients, and let’s get started! I hope you enjoy this recipe as much as I do. Be sure to print the recipe or share it with your friends!
FAQ
Will the graham crackers soften in the dessert?
Yes, the graham crackers will soften as they absorb moisture from the filling. The chilling time is essential for this process.
Can you use Cool Whip instead of whipped cream?
While you can, the texture will be different. Real whipped cream provides a richer, more stable texture.
Can you add some chocolate to the dessert?
Absolutely! You can add chocolate shavings, a layer of chocolate ganache, or even use chocolate graham crackers.
How long does it take for the graham crackers to soften?
Typically, the graham crackers will soften after about 3 hours of refrigeration. However, they will continue to soften over time.
How do I store this?
Store the cake covered in the refrigerator for up to 3 days.
Can I freeze this?
Yes, you can freeze the cake. Wrap it tightly in plastic wrap and then in foil. Thaw in the refrigerator before serving.

Easy Cherry Cheesecake Icebox Cake Recipe
Ingredients
Method
- In a large bowl, whip the cold heavy whipping cream and 1 cup of powdered sugar together using an electric mixer.
- Beat for 7 to 8 minutes, or until thick and stiff peaks form.
- In a separate large bowl, use the electric mixer again to combine the cream cheese, the remaining 1 cup of powdered sugar, and vanilla extract.
- Mix until the mixture is smooth and creamy. Make sure the cream cheese is at room temperature to avoid lumps.
- Gently mix the whipped cream into the cream cheese mixture at low speed until everything is well combined.
- Lay out a single layer of graham crackers along the bottom of an ungreased 9 x 13-inch baking pan or dish.
- Spread a thin, even layer of the cheesecake filling over the graham crackers.
- Spoon out one can of the cherry pie filling, distributing it evenly.
- Carefully spread another thin layer of the cheesecake filling over the cherry pie filling.
- Place another single layer of graham crackers on top.
- Repeat the layering process one more time: graham crackers, cheesecake filling, cherry pie filling, and cheesecake filling.
- Finish with a final layer of graham crackers.
- Spread the remaining cheesecake filling on top.
- Wrap the dessert tightly with plastic wrap and refrigerate for at least 3 hours.
- When you are ready to serve the dessert, spoon the last can of cherry pie filling on top, spreading it evenly.
- Serve the Cherry Cheesecake Icebox Cake chilled.
- Combine the cherries, sugar, lemon juice, cornstarch, and water in a medium saucepan.
- Bring the mixture to a simmer over medium heat, stirring occasionally.
- Continue to simmer for about 10-15 minutes, or until the sauce has thickened to your desired consistency. Stir frequently to prevent sticking.
- Remove the saucepan from the heat and let the cherry sauce cool completely before using it in the icebox cake. As it cools, it will thicken further.