Elevate your dessert game with these delightful mini lemon tarts with colored meringue! This recipe puts a special spin on the classic lemon tart by infusing the Swiss meringue with the delicate flavor and aroma of edible flowers. Imagine the bright, tangy lemon curd perfectly complemented by the sweet, floral notes of lavender or rose. These tarts are not only delicious but also visually stunning, making them perfect for any occasion. Follow along, and you’ll be creating show-stopping desserts that are sure to impress your friends and family. If you’re looking for another elegant dessert, consider these romantic mascarpone raspberry tarts.
Why You’ll Love This Recipe
This mini lemon tart recipe is special because of one key element: the floral-infused meringue. The floral notes add a touch of elegance and sophistication to the classic lemon tart.
The Twist: The star of this recipe is the Swiss meringue infused with edible flowers like lavender or rose petals. This simple step adds a delicate floral aroma and flavor that perfectly complements the tangy lemon curd.
Taste & Aroma: Imagine the bright, zesty taste of lemon perfectly balanced with the gentle, sweet fragrance of flowers. The floral notes elevate the experience beyond a simple lemon tart.
Visual Appeal: The edible flowers not only taste amazing but also create a beautiful, visually stunning dessert. Think pastel hues and delicate petals adding a touch of elegance to your tarts.
Easy Elegance: While they look fancy, these tarts are surprisingly easy to make. The recipe uses straightforward techniques and readily available ingredients.
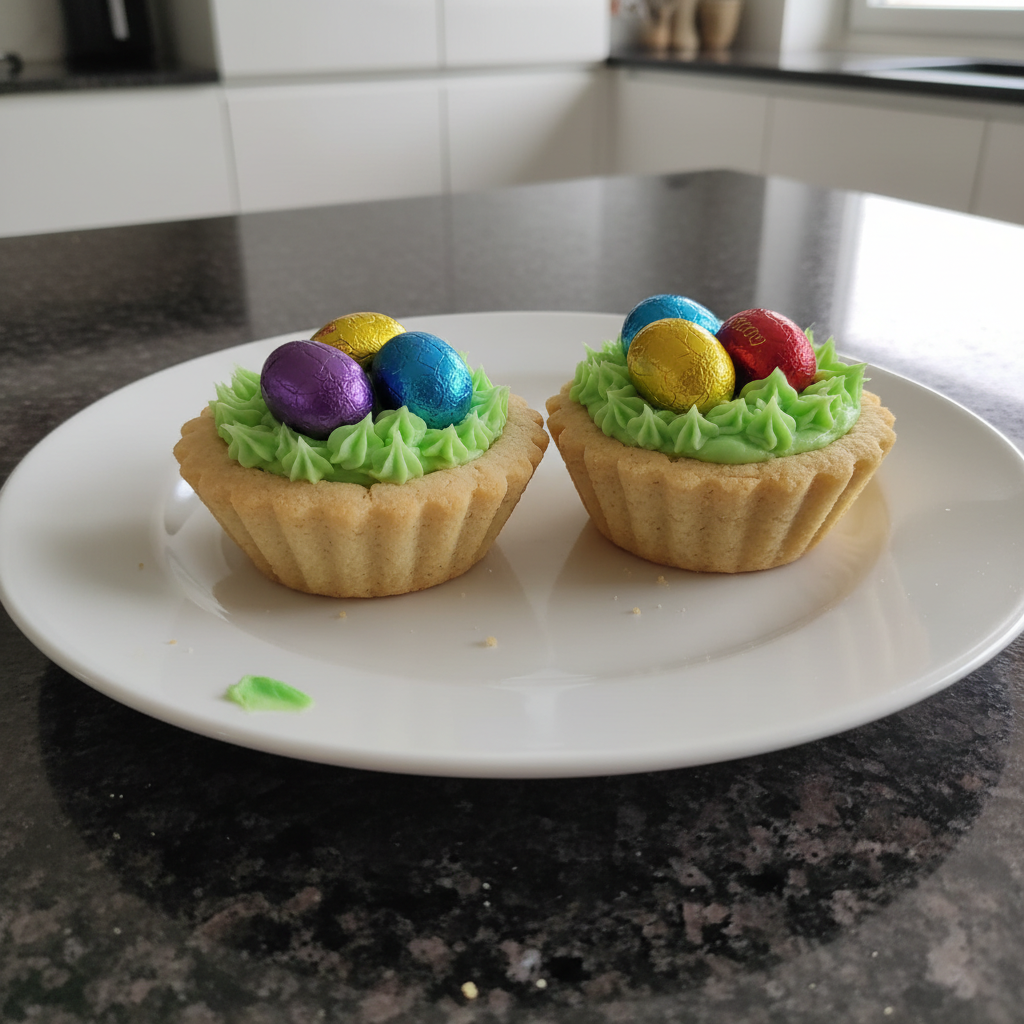
Perfect for Any Occasion: Whether it’s Easter brunch, a bridal shower, or a simple afternoon treat, these tarts are sure to impress. For another fun and festive Easter option, check out these easy Easter dessert recipes.
Ingredients Needed

3¼ cups all-purpose flour ((390g))
1 cup + 6 tablespoons unsalted butter (cold (311g))
1 tsp kosher salt
⅔ cups water (with ice cubes (5.3oz))
3 large eggs
½ cup sugar ((100g))
3 tablespoons lemon zest
⅓ cup lemon juice (freshly squeezed)
6 tablespoons unsalted butter (room temperature (85g))
2 large egg whites
½ cup sugar ((100g))
pinch salt
1 teaspoon vanilla paste or extract
Ingredient Notes & Substitutions
All-Purpose Flour: For a gluten-free version, use a 1:1 gluten-free all-purpose flour blend. Ensure it contains xanthan gum for binding.
Unsalted Butter: High-quality European-style butter (82% fat) will result in a flakier crust. For a dairy-free option, use a vegan butter substitute that’s solid when cold.
Lemons: Meyer lemons will give a sweeter, less acidic flavor. Bottled lemon juice can be used in a pinch, but fresh is highly recommended for best flavor. You can learn more about the different varieties of lemons on resources such as the Citrus Variety Collection at UC Riverside.
Edible Flowers: Use dried culinary-grade edible flowers like lavender, rose petals, or chamomile. Ensure they are pesticide-free. You can find these at specialty food stores or online.
Sugar: Use granulated sugar for both the tart crust and meringue. Powdered sugar is not recommended. For the floral infusion, consider using superfine sugar to help the flowers release their aroma.

How to Make Mini Lemon Tarts with Colored Meringue
Here’s how to make these delightful mini lemon tarts. I’ll guide you through each step to create a dessert that tastes as amazing as it looks.
Make the Tart Crust
In a bowl, add the water and some ice cubes and set aside.
Using a food processor, add the flour and salt to the bowl. Cut your cold butter into 1 inch pieces and add to the flour so they are evenly distributed around the bowl.
Pulse the mixture until the butter reaches pea-sized pieces and looks crumbly.
Add in the ⅔ cup ice cold water, and pulse again until the dough starts to form a ball (you want to still see butter chunks).
Add more water and flatten into a one-inch disc and wrap tightly in plastic wrap. Place in the fridge for 2 hours to fully hydrate. Only one disc is needed, the other can be frozen after the chilling period. While the dough is resting, make the lemon curd. For tips on handling dough, you might find helpful information on sites like King Arthur Baking.
After two hours, lightly flour a rolling pin and work surface, then roll out the dough until it’s about ¼ inch thick.
Continue to lightly flour your surface if the dough begins to stick. The dough should be easy to work with and not too sticky.
Using a cookie cutter, drinking glass, or knife, cut 12 rounds slightly larger than your tartlet pans or muffin tin openings. Press the dough into the sides and edges of the pan. Re-roll the scraps to get all 12 rounds.
Place the prepared dough into the freezer for 15 minutes. This will help prevent the pie crust from shrinking.
Preheat the oven to 375℉. Remove the crust from the freezer, and dock the bottoms a couple of times with a fork.
Place a small sheet of parchment paper over each crust and fill completely with pie weights. Bake the crust for 25 minutes, then remove the weights and parchment paper and bake for another 5 minutes. The crust should be lightly golden brown and should slide out of the tins easily.
Remove from the oven and cool completely on a wire rack in the pans.
Make the Lemon Curd
In a medium saucepan over medium low heat, whisk together the eggs, sugar, lemon juice and lemon zest. Whisk constantly until the mixture begins to thicken and starts to bubble. This usually happnens with in five minutes. This is different on every stove top – you will see a noticeable difference in the viscosity.
Once thickened, remove from the heat and pass the curd through a fine mesh sieve into a bowl. This ensures a smooth, luscious texture.
Whisk in one tablespoon of butter at a time, not adding another piece until the first is totally incorporated. This will help create a silky, glossy curd.
Cover with plastic wrap, putting the wrap directly onto the curd to prevent a skin from forming, and chill for one to two hours in the fridge. The curd will thicken further as it cools.
Make the Floral Meringue
Fill a saucepan with about 1 inch of water and turn to high heat. Add a heat proof bowl over top that fits securely. You don’t want any of the water touching the bottom of the bowl.
To the bowl, add the egg whites, sugar, and salt and whisk to combine. Continue lightly whisking until the mixture is warm and the sugar granules have dissolved. Check this by rubbing your fingers together in the mixture. If you can still feel sugar granules, continue cooking. If you have a thermometer, cook it to around 160℉.
One the mixture is ready, add it to the bowl of a stand mixer fitted with the whisk attachment (or use a handhelp mixer) and whip on medium speed for about a minute. Turn to high speed and whip until stiff peaks form.
Once the meringue hits stiff peaks, add the vanilla then mix once more to combine. The meringue is ready when the bowl can be turned upside down without any movement or sliding.
Assemble the Tarts
To assemble, pipe or spoon the curd into each tartlet shell until it’s almost full. Then, pipe or dollop the meringue on top of the curd.
Brown the meringue with a blow torch, or carefully broil on high in the oven until the desired color is reached. Watch closely to prevent burning. The meringue should be lightly golden and toasted.
Achieving a Perfectly Smooth and Glossy Lemon Curd
Getting that perfect lemon curd texture is easier than you think. Here are my tips:
Low and Slow: Cook the lemon curd over medium-low heat, whisking constantly. This prevents the eggs from scrambling and ensures a smooth texture.
Strain it Out: Passing the curd through a fine-mesh sieve after cooking removes any lumps or cooked egg particles.
Butter Incorporation: Add the butter one tablespoon at a time, whisking until fully incorporated. This helps emulsify the curd and gives it a glossy finish.
Avoid Overcooking: The curd is ready when it coats the back of a spoon and a line drawn through it holds its shape. Overcooking will result in a grainy texture.
Chill Time: Allowing the curd to chill completely in the refrigerator helps it thicken and set properly.
Pro Tips & Troubleshooting
Here are some of my best tips for making these tarts perfectly, along with common pitfalls to avoid.
Pro Tips
Chill the Dough: Always chill the pie crust dough for at least 2 hours to prevent shrinking and ensure a flaky texture.
Blind Bake Properly: Use pie weights or dried beans to prevent the crust from puffing up during blind baking. Dock the crust with a fork to release steam.
Infuse the Sugar: Grind the dried edible flowers with the sugar in a food processor before making the meringue to maximize flavor infusion.
Dissolve the Sugar: Ensure the sugar is fully dissolved in the egg whites before whipping the meringue. Rub a small amount between your fingers to check for grittiness.
Stiff Peaks are Key: Whip the meringue until stiff, glossy peaks form. This ensures the meringue holds its shape when piped and toasted.
Toast Carefully: When broiling the meringue, watch it closely to prevent burning. A kitchen torch offers more control and even browning.
Common Mistakes to Avoid
Overbaking the Crust: Bake the tart shells until lightly golden brown to prevent them from becoming dry and brittle.
Burning the Meringue: Watch the meringue carefully when broiling or torching to prevent burning. It can go from golden to burnt very quickly.
Cooking the Eggs Too Fast: When making the lemon curd, ensure the pot is on medium-low heat so you don’t cook the eggs too fast.
Underwhipping Meringue: Ensure that the bowl can be turned upside down without any movement or sliding, before piping the meringue. Underwhipped meringue will weep and not hold its shape.
Serving & Storage
Here’s how to serve and store these beautiful mini lemon tarts.
Serving Ideas
Serve immediately after toasting the meringue for the best texture and visual appeal.
Dust the toasted meringue with edible gold glitter for an extra touch of elegance.
Garnish with a fresh raspberry or blueberry on top of each tart.
Serve with a scoop of vanilla ice cream or a dollop of whipped cream for a richer dessert.
Pair with a light, floral tea or a glass of sparkling wine to complement the flavors.
Storage and Make-Ahead
Lemon Curd: The lemon curd can be made up to 3 days in advance and stored in an airtight container in the refrigerator.
Tart Shells: The baked tart shells can be stored in an airtight container at room temperature for up to 2 days.
Assembled Tarts: Assembled tarts are best served immediately. However, they can be stored in the refrigerator for up to 24 hours, but the meringue may soften. For a longer-lasting treat, consider gingerbread cheesecake bars, which store well.
Freezing: Freezing assembled tarts is not recommended as the meringue will lose its texture. However, the baked tart shells can be frozen for up to 1 month.
Conclusion
These mini lemon tarts with floral meringue are a beautiful and delicious twist on a classic dessert. The floral-infused meringue elevates both the flavor and the visual appeal, making them perfect for any special occasion. Don’t be afraid to experiment with different edible flowers to create your own unique flavor combinations. I hope you enjoy making and sharing these delightful tarts!
FAQ
How do I prevent the pie crust from shrinking?
Chilling the dough for 2 hours before rolling it out, freezing the shaped crusts for 15 minutes before baking, and using pie weights during blind baking all help prevent shrinking.
How do I make colored meringue?
Use gel food coloring for best results, adding it gradually after the meringue has reached stiff peaks. Avoid liquid food coloring, as it can thin the meringue.
How do I toast meringue without a kitchen torch?
You can carefully broil the meringue in the oven on high, watching it closely to prevent burning. Place the tarts on the top rack and broil for just a few seconds until golden brown.
Can I use store-bought tartlet shells?
Yes, you can use store-bought tartlet shells to save time. Look for high-quality shells that are buttery and flaky.
Can I use store bought lemon curd?
Yes, you can use store-bought lemon curd. However, homemade lemon curd will have a fresher, more vibrant flavor.
Do I need a special pan?
You’ll need tartlet pans or a muffin tin to shape the tarts. Tartlet pans with removable bottoms make it easier to release the baked tarts.
“`

Dazzling Mini Lemon Tarts with Floral Meringue
Ingredients
Equipment
Method
- In a bowl, add the water and some ice cubes and set aside.
- Using a food processor, add the flour and salt to the bowl. Cut your cold butter into 1 inch pieces and add to the flour so they are evenly distributed around the bowl.
- Pulse the mixture until the butter reaches pea-sized pieces and looks crumbly.
- Add in the ⅔ cup ice cold water, and pulse again until the dough starts to form a ball (you want to still see butter chunks).
- Add more water and flatten into a one-inch disc and wrap tightly in plastic wrap. Place in the fridge for 2 hours to fully hydrate. Only one disc is needed, the other can be frozen after the chilling period. While the dough is resting, make the lemon curd.
- After two hours, lightly flour a rolling pin and work surface, then roll out the dough until it’s about ¼ inch thick.
- Continue to lightly flour your surface if the dough begins to stick. The dough should be easy to work with and not too sticky.
- Using a cookie cutter, drinking glass, or knife, cut 12 rounds slightly larger than your tartlet pans or muffin tin openings. Press the dough into the sides and edges of the pan. Re-roll the scraps to get all 12 rounds.
- Place the prepared dough into the freezer for 15 minutes. This will help prevent the pie crust from shrinking.
- Preheat the oven to 375℉. Remove the crust from the freezer, and dock the bottoms a couple of times with a fork.
- Place a small sheet of parchment paper over each crust and fill completely with pie weights. Bake the crust for 25 minutes, then remove the weights and parchment paper and bake for another 5 minutes. The crust should be lightly golden brown and should slide out of the tins easily.
- Remove from the oven and cool completely on a wire rack in the pans.
- In a medium saucepan over medium low heat, whisk together the eggs, sugar, lemon juice and lemon zest. Whisk constantly until the mixture begins to thicken and starts to bubble. This usually happens within five minutes. This is different on every stove top - you will see a noticeable difference in the viscosity.
- Once thickened, remove from the heat and pass the curd through a fine mesh sieve into a bowl. This ensures a smooth, luscious texture.
- Whisk in one tablespoon of butter at a time, not adding another piece until the first is totally incorporated. This will help create a silky, glossy curd.
- Cover with plastic wrap, putting the wrap directly onto the curd to prevent a skin from forming, and chill for one to two hours in the fridge. The curd will thicken further as it cools.
- Fill a saucepan with about 1 inch of water and turn to high heat. Add a heat proof bowl over top that fits securely. You don’t want any of the water touching the bottom of the bowl.
- To the bowl, add the egg whites, sugar, and salt and whisk to combine. Continue lightly whisking until the mixture is warm and the sugar granules have dissolved. Check this by rubbing your fingers together in the mixture. If you can still feel sugar granules, continue cooking. If you have a thermometer, cook it to around 160℉.
- One the mixture is ready, add it to the bowl of a stand mixer fitted with the whisk attachment (or use a handheld mixer) and whip on medium speed for about a minute. Turn to high speed and whip until stiff peaks form.
- Once the meringue hits stiff peaks, add the vanilla then mix once more to combine. The meringue is ready when the bowl can be turned upside down without any movement or sliding.
- To assemble, pipe or spoon the curd into each tartlet shell until it’s almost full. Then, pipe or dollop the meringue on top of the curd.
- Brown the meringue with a blow torch, or carefully broil on high in the oven until the desired color is reached. Watch closely to prevent burning. The meringue should be lightly golden and toasted.
Notes
Lia Monet is a food blogger, recipe developer, and the founder of EasyAsMeals, a food blog focused on easy recipes, quick dinners, and everyday home cooking. She creates tested, family-friendly recipes using simple ingredients to help busy families cook affordable and delicious meals at home.