Tired of slimy, separated homemade oat milk? You’re not alone! Many people struggle to replicate the smooth, creamy texture of store-bought oat milk at home. But what if I told you that perfect homemade oat milk is within your reach? This recipe is not only incredibly easy and cost-effective compared to buying it at the store, but it also guarantees a delicious, non-slimy result. Whether you’re looking for a dairy-free alternative or simply want to control the ingredients in your milk, this article provides a foolproof recipe and answers all your oat milk questions. Get ready to enjoy smooth, creamy oat milk in your coffee, smoothies, and baked goods!
Why You’ll Love This Recipe
This recipe has a special trick to guarantee perfect oat milk every time.
Creamy texture: This recipe delivers oat milk that rivals the store-bought version in terms of creaminess. The secret is in the emulsification process.
Quick and easy: Ready in minutes with minimal effort, this recipe is perfect for busy mornings or when you need a dairy-free milk alternative in a pinch.
Dairy-free and vegan: Suitable for various dietary needs, this recipe is naturally dairy-free, vegan, and lactose-free.
Versatile: Use this oat milk in coffee, smoothies, baking, and more. It’s a true kitchen staple.
The unique twist in this recipe? Adding a tablespoon of neutral oil (like grapeseed or sunflower oil) before blending. This seemingly simple addition works wonders! The oil helps emulsify the milk, preventing excessive starch gelling. This results in a smoother, more consistent texture, especially when heated. No more separation in your coffee!
Ingredients Needed

- 4 cups cold water
- 1/2 tsp vanilla extract
- 2 Tbsp brown sugar
- 1 cup old-fashioned rolled oats (NOT quick oats)
- 1/4 tsp salt
Ingredient Notes & Substitutions
Here’s a little more detail about the ingredients and how you can customize them:
Oats: It’s crucial to use old-fashioned rolled oats for this recipe. Quick oats will result in a milk that’s too thick and has a powdery flavor. Look for brands like Quaker or Bob’s Red Mill. The texture of rolled oats provides the right amount of starch without becoming overly gummy.
Sweetener: I love the slight molasses flavor of brown sugar, but you can easily substitute it with maple syrup, dates (soaked and pitted), or any other sweetener you prefer. Adjust the amount to your liking, tasting as you go.
Water: Always use cold water! This is essential to prevent the oats from releasing too much starch, which leads to a slimy texture. The cold temperature slows down starch activation.
Dairy-free focus: This recipe is naturally dairy-free, vegan, and lactose-free, making it a great option for those with dietary restrictions or preferences.
Optional flavorings: Feel free to experiment with other flavorings! A pinch of cinnamon or a tablespoon of cocoa powder can add a delicious twist.

How to Make Homemade Oat Milk
Follow these simple steps to make perfect oat milk every time!
Step 1: Dissolve Sugar
Stir the vanilla and brown sugar into the cold water until dissolved. Make sure the sugar is completely dissolved to avoid any grainy texture in the final product. Using cold water here is essential for preventing a slimy texture.
Step 2: Blend Ingredients
Add the oats, salt, and cold water mixture to a blender. Now, here’s the important part: add one tablespoon of neutral oil (like grapeseed or sunflower) to the blender. This helps to emulsify the milk. Blend on high for 30 seconds. This blending time is ideal; blending longer can release too much starch and make the milk slimy.
Step 3: Strain the Mixture
Pour the blended oat mixture through a strainer to filter out the oat pieces. A nut milk bag is ideal for this, but you can also use cheesecloth, a metal coffee filter, or a double layer of metal sieves. Gently strain the mixture. Do NOT squeeze the bag, as this will release more starch and result in slimy milk.
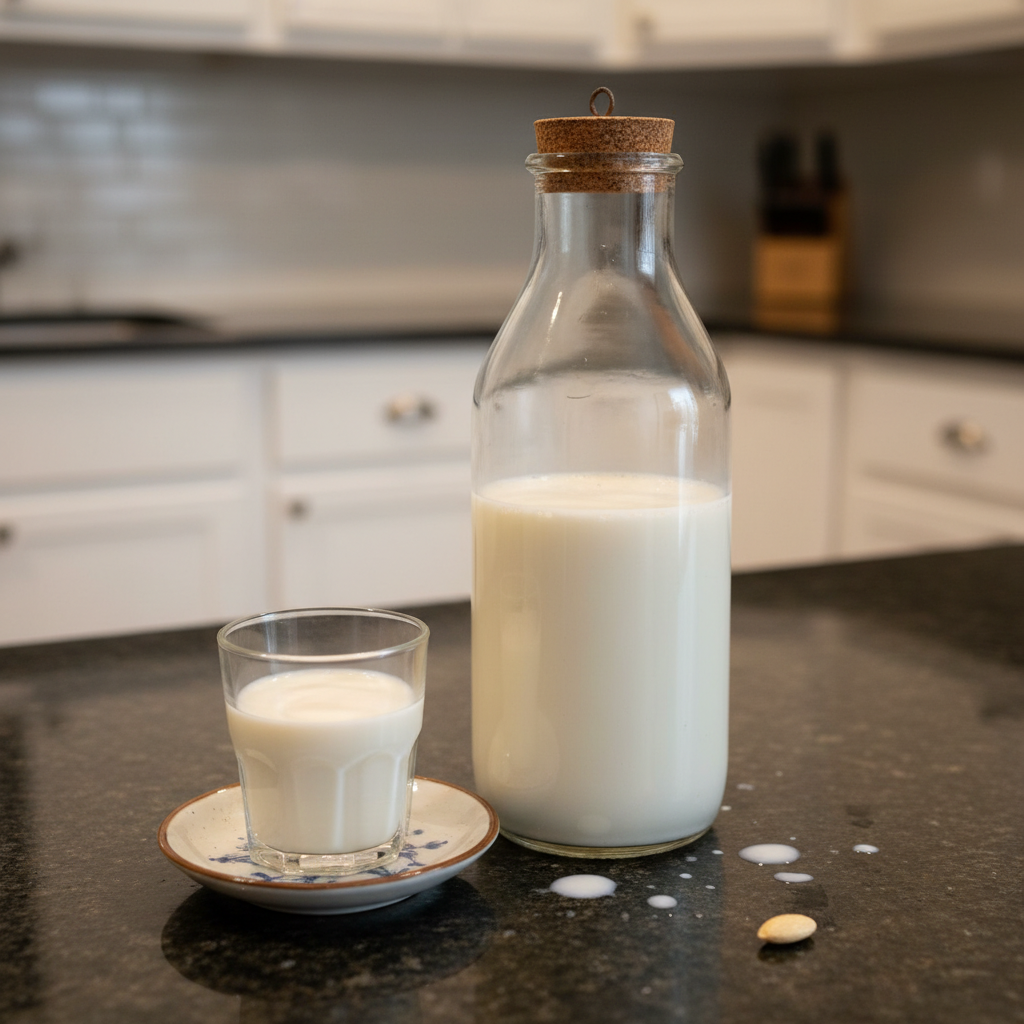
Step 4: Chill and Store
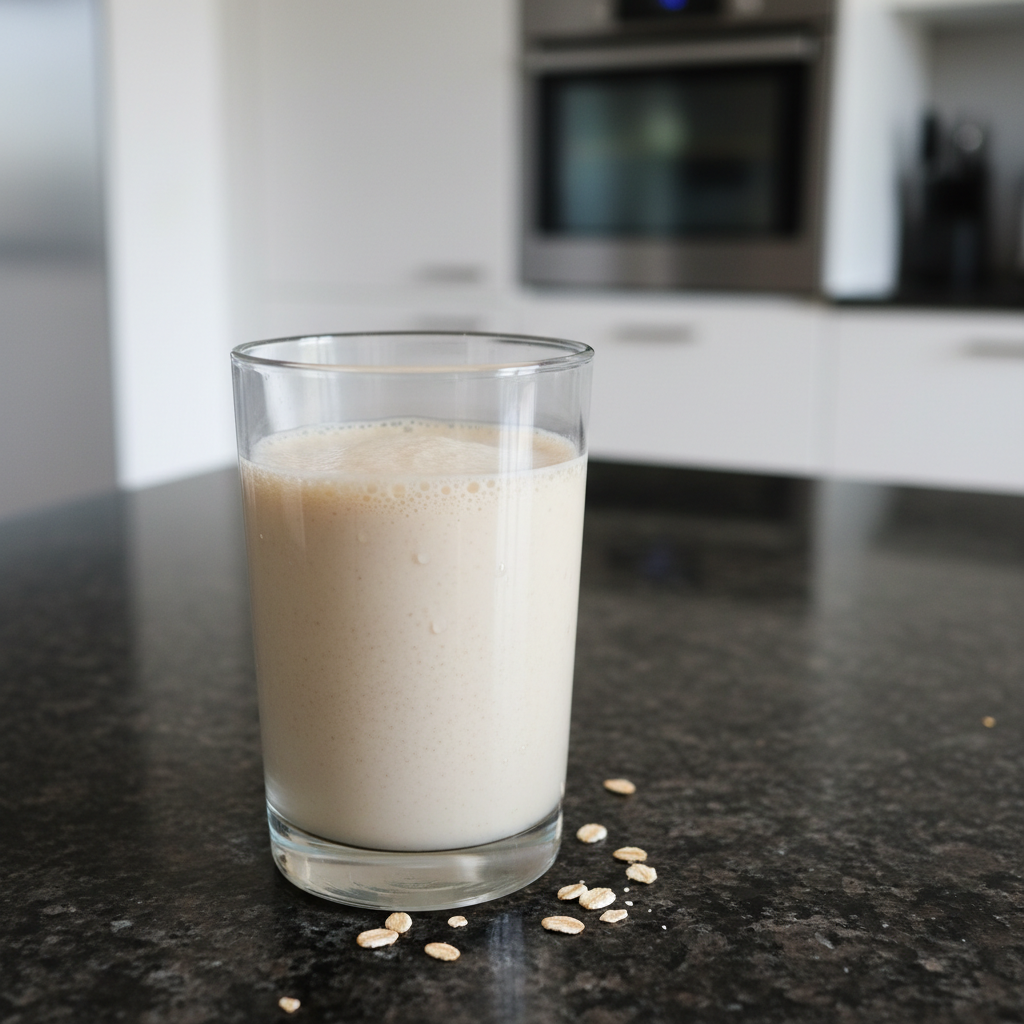
Chill it completely (preferably overnight), then shake very well before serving. The milk should look creamy and smooth. Keep it refrigerated for up to four days. If the oat milk smells sour or has a slimy texture even after chilling, it’s gone bad and should be discarded.
Making Oat Milk Your Own: Flavors and Blenders
Adjusting for Different Blenders
The blending time may vary depending on your blender’s power. If you’re using a high-speed blender, you might need to blend for only 20 seconds. With a regular blender, 30 seconds might be perfect. Look for a smooth, milky consistency; avoid over-blending.
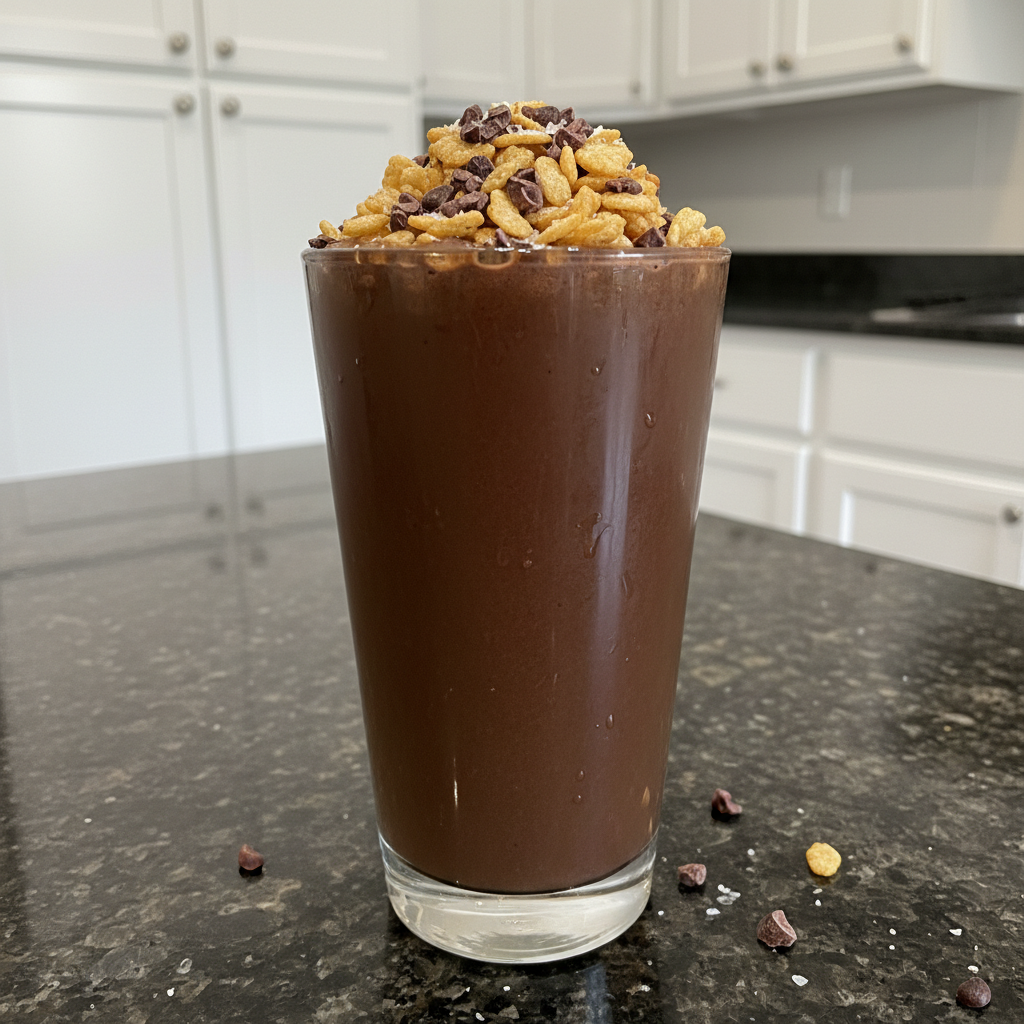
Flavor Variations
Want to make chocolate oat milk? Simply add 1-2 tablespoons of cocoa powder to the blender along with the other ingredients. You can also try other flavorings, such as almond or peppermint extract, spices like cinnamon or nutmeg, or even fresh or frozen berries.
Pro Tips & Troubleshooting
Pro Tips
- Use metal coffee filters for the smoothest texture.
- Add a tablespoon of neutral oil for extra creaminess and to prevent separation.
- Chill the oat milk thoroughly for optimal flavor and texture.
- Adjust the sweetness level to your taste.
- Strain rapidly while in the filter to help strain the mixture.
- Use maple syrup instead of brown sugar to add flavor.
Common Mistakes to Avoid
- Squeezing the liquid through the nut bag or cheesecloth will make the milk slimy.
- Using quick oats will result in a thick and powdery-flavored milk.
- Over-blending the mixture can make the milk too thick or slimy.
- Using warm or hot water can activate the oats too much and create a slimy texture.
Serving & Storage
Serving Ideas
- Add to coffee or cereal. The added oil in this recipe makes it especially great for coffee!
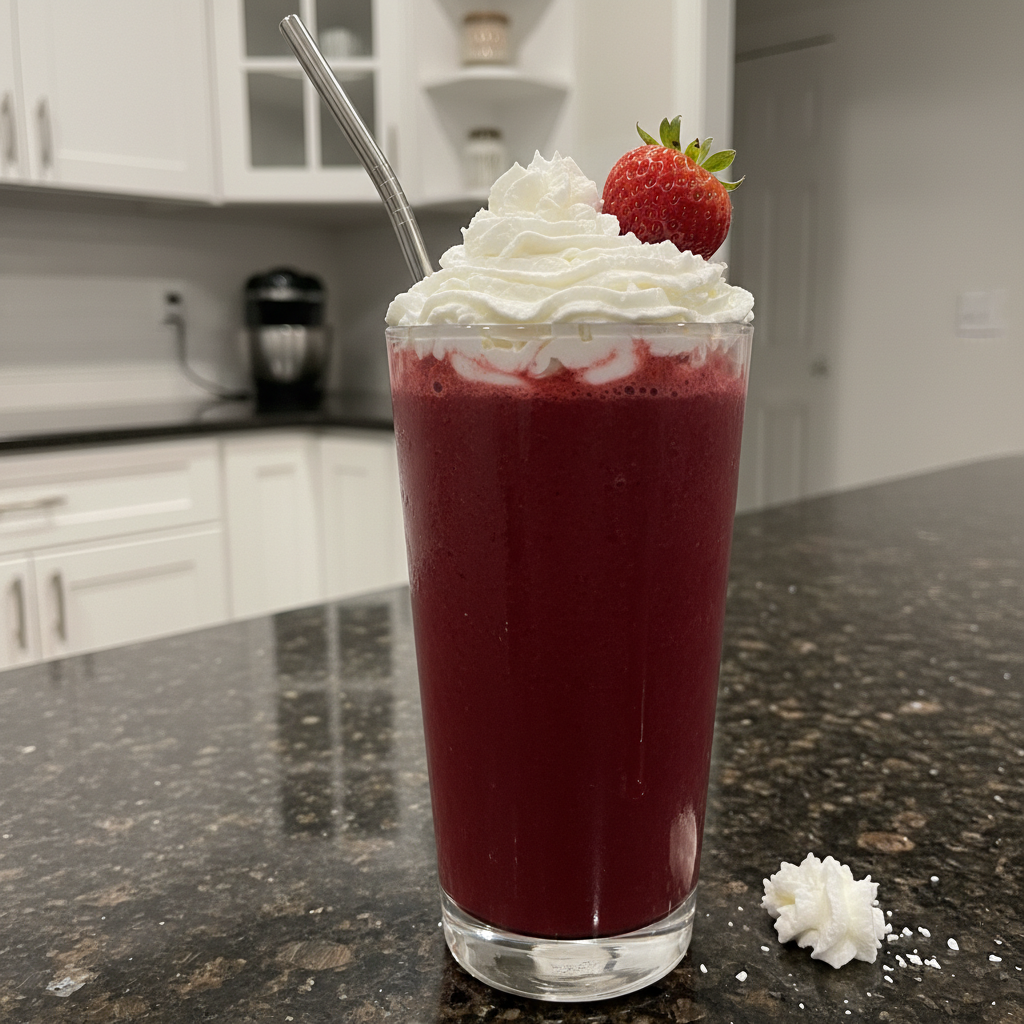
- Use in smoothies for a creamy texture.
- Use leftover oat pulp for pancakes, reducing flour and milk accordingly.
- Blend the leftover oat pulp into smoothie bowls for added fiber.
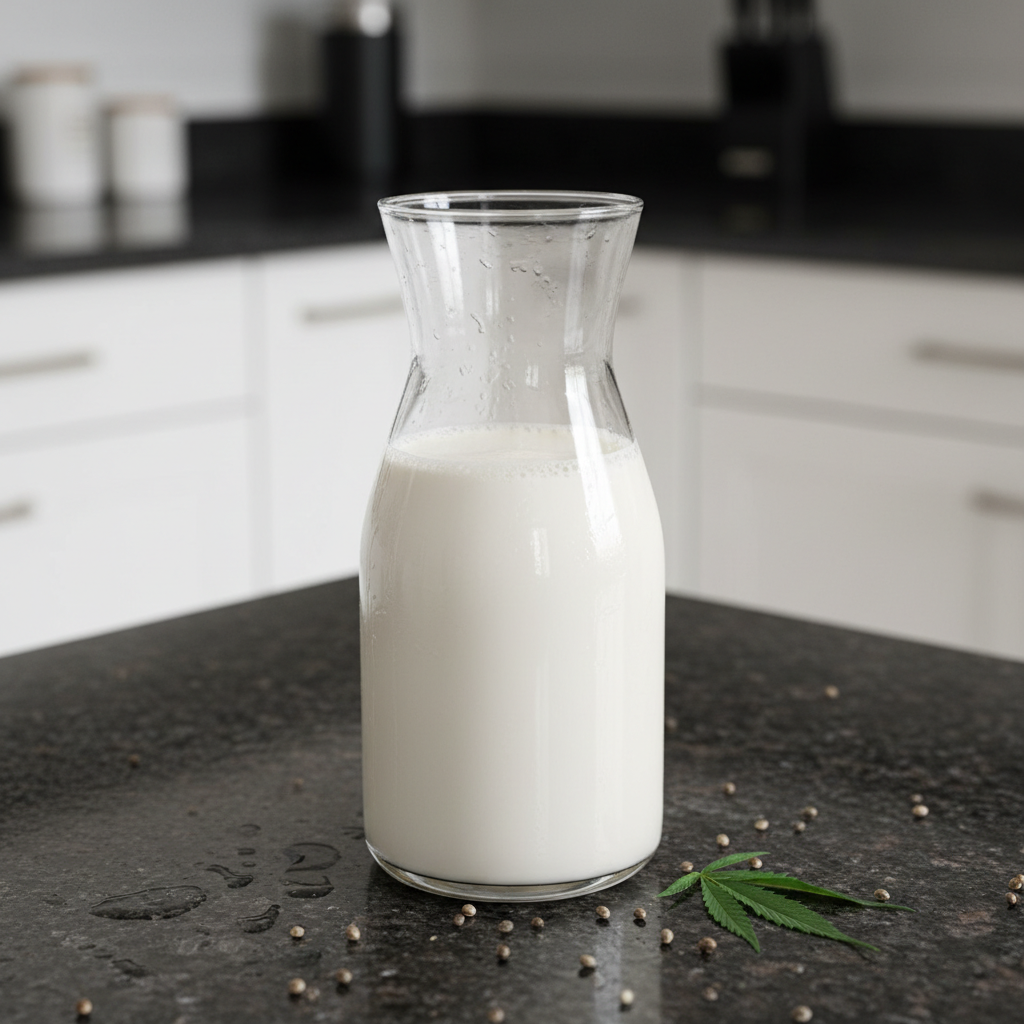
Storage and Make-Ahead
Store your homemade oat milk in the refrigerator for up to 4 days. Be sure to shake it well before each use, as some settling is normal. If the milk develops a sour smell or slimy texture, discard it. While you *can* freeze oat milk, it may affect the texture, making it slightly grainy upon thawing. Therefore, it’s best enjoyed fresh.
Conclusion
Making homemade oat milk is easier than you think, and with the addition of a little oil, you can achieve a creamy, non-slimy result every time! Don’t be afraid to experiment with different flavors and serving suggestions to find your perfect oat milk creation. This recipe is so simple and foolproof that even beginners can master it. Why not print this recipe, share it with your friends, and explore other dairy-free recipes on my blog? Looking for more inspiration? You might also enjoy this recipe for fluffy vegan pumpkin pancakes.
FAQ
Here are some frequently asked questions about making homemade oat milk:
What kind of oats should I use for the best texture?
Always use old-fashioned rolled oats. Quick oats are too processed and will result in a slimy or overly thick milk.
How do I prevent slimy oat milk?
The key is to use cold water, avoid over-blending, and refrain from squeezing the nut bag. Adding a tablespoon of oil also helps!
How long does homemade oat milk last in the refrigerator?
Homemade oat milk typically lasts for up to 4 days in the refrigerator. Look out for signs of spoilage, such as a sour smell or slimy texture.
Can I use this oat milk for coffee or frothing?
Yes! The added oil in this recipe makes the oat milk particularly suitable for coffee and frothing, giving it a richer texture.
What other sweeteners or flavorings can I add?
You can add maple syrup, dates, vanilla extract, cocoa powder, cinnamon, or any other flavors you enjoy.
What can I do with the leftover oat pulp?
Don’t throw it away! Use the pulp in baking, smoothies, or other recipes for added fiber.
Can I freeze oat milk?
You can freeze oat milk, but the texture may change slightly upon thawing, becoming a bit grainy. It’s best to use fresh oat milk for the best results.
If you’re interested in making your own protein powder to add to your oat milk smoothies, check out this guide.
Creamy Homemade Oat Milk: No Slimy Texture!
Ingredients
Equipment
Method
- Stir the vanilla and brown sugar into the cold water until dissolved. Make sure the sugar is completely dissolved to avoid any grainy texture in the final product. Using cold water here is essential for preventing a slimy texture.
- Add the oats, salt, and cold water mixture to a blender. Now, here’s the important part: add one tablespoon of neutral oil (like grapeseed or sunflower) to the blender. This helps to emulsify the milk. Blend on high for 30 seconds. This blending time is ideal; blending longer can release too much starch and make the milk slimy.
- Pour the blended oat mixture through a strainer to filter out the oat pieces. A nut milk bag is ideal for this, but you can also use cheesecloth, a metal coffee filter, or a double layer of metal sieves. Gently strain the mixture. Do NOT squeeze the bag, as this will release more starch and result in slimy milk.
- Chill it completely (preferably overnight), then shake very well before serving. The milk should look creamy and smooth. Keep it refrigerated for up to four days. If the oat milk smells sour or has a slimy texture even after chilling, it’s gone bad and should be discarded.
Notes
Lia Monet is a food blogger, recipe developer, and the founder of EasyAsMeals, a food blog focused on easy recipes, quick dinners, and everyday home cooking. She creates tested, family-friendly recipes using simple ingredients to help busy families cook affordable and delicious meals at home.