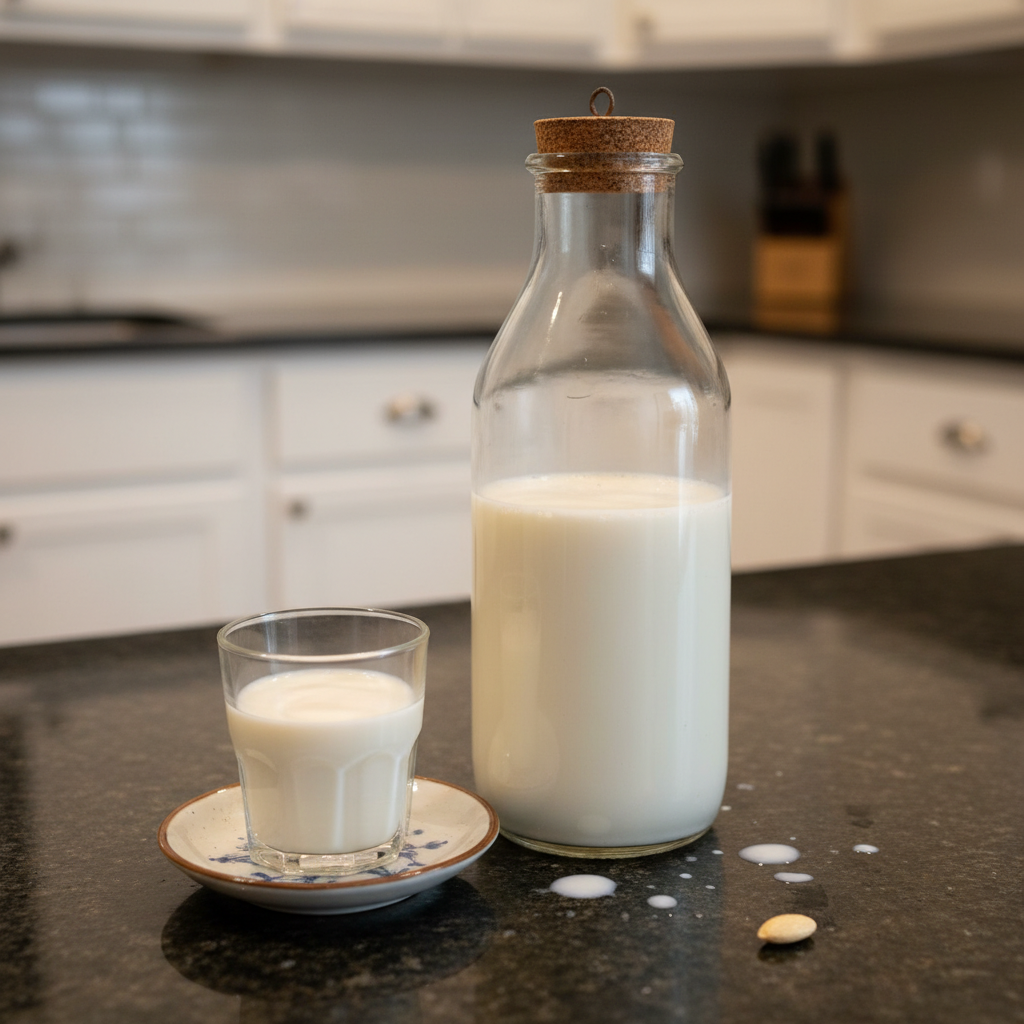
Are you tired of expensive store-bought oat milk filled with additives? I know I was! That’s why I started making my own homemade oat milk. It’s surprisingly easy, takes just minutes, and tastes so much better. Plus, I’ve got a simple trick to ensure it’s never slimy. This recipe will show you how to make perfect oat milk at home every time.
Why You’ll Love This Homemade Oat Milk Recipe
This isn’t just another oat milk recipe. It’s designed to give you the best possible texture and flavor.
Baking Soda Secret: This recipe includes a pinch of baking soda—a game-changer for homemade oat milk. It raises the pH just slightly, preventing enzymes from breaking down the starches that cause that dreaded slimy texture.
Creamier Texture: You’ll get a noticeably creamier texture than with other homemade recipes.
Stays Fresh Longer: This dairy-free and vegan oat milk stays fresh longer in the fridge thanks to our special trick.
Super Easy: It’s incredibly easy to make with minimal ingredients and effort.
Customizable: Easily adapt this recipe to your taste.
Saves Money: Making your own is far cheaper than buying lactose-free oat milk at the store.
Ingredients Needed

- 4 cups cold water
- 1/2 tsp vanilla extract
- 2 Tbsp brown sugar
- 1 cup old-fashioned rolled oats (NOT quick oats)
- 1/4 tsp salt
Ingredient Notes & Substitutions
Oats: It’s crucial to use old-fashioned rolled oats for this recipe. Quick oats are too processed and will result in a slimy texture. Learn more about the difference between different types of oats and why quick oats don’t work well for homemade oat milk.
Sweetener: Feel free to substitute the brown sugar with other sweeteners like maple syrup, honey, or even a few dates for a natural sweetness.
Water: Using filtered water can improve the overall taste, especially if your tap water quality isn’t great.
Dairy-free: This recipe is naturally dairy-free and vegan, making it a great option for those with dietary restrictions.

How to Homemade Oat Milk Recipe
Follow these simple steps to create delicious, non-slimy oat milk in your own kitchen.
Step 1: Dissolve Sweetener
Stir the vanilla and brown sugar into the cold water until dissolved. Make sure the sugar is fully dissolved to prevent a gritty texture in your final product.
Step 2: Blend Ingredients
Add the rolled oats, salt, and the cold water mixture to a blender. For the best texture, also add a pinch of baking soda (⅛ tsp per 4 cups of water) now. Blend on high for 30 seconds. Be careful not to over-blend, as this can lead to a slimy texture.
Step 3: Strain the Mixture
Pour the blended oat mixture through a strainer to filter out the oat pieces. You can use a nut bag, cheesecloth, a metal coffee filter, or even a double layer of sieves. A nut bag is reusable and very effective. Cheesecloth is inexpensive, but might let some sediment through. Avoid squeezing the bag too hard, as this releases more starch and can cause a slimy texture. If you want to explore other methods for straining your homemade oat milk check out our related artical on different straining methods
Step 4: Chill and Serve
Chill the oat milk completely, preferably overnight. This allows the flavors to meld and the texture to improve. Shake well before serving. Keep it refrigerated for up to four days.
Understanding Oat Milk Separation and Solutions
Don’t be alarmed if your hHomemade Oat Milk Recipe separates! It’s a natural process because Homemade Oat Milk Recipe lacks the emulsifiers and stabilizers found in commercial brands.
Commercial oat milk often contains additives to prevent separation. These additives aren’t necessary for homemade versions if you follow a few simple rules.
Here are some practical tips to minimize separation at home:
- Shake well before serving.
- Use cold water for blending.
- Don’t over-blend the mixture.
Pro Tips & Troubleshooting
Here are some tips to help you create the perfect batch of homemade oat milk every time.
Pro Tips
- Use cold water for the best flavor and texture.
- Don’t over-blend the oats, aim for 30 seconds max.
- Strain the mixture carefully, avoiding excessive squeezing.
- Chill the oat milk for at least 4 hours (or overnight) for optimal creaminess.
- Add a pinch of baking soda (⅛ tsp per 4 cups of water) to prevent sliminess.
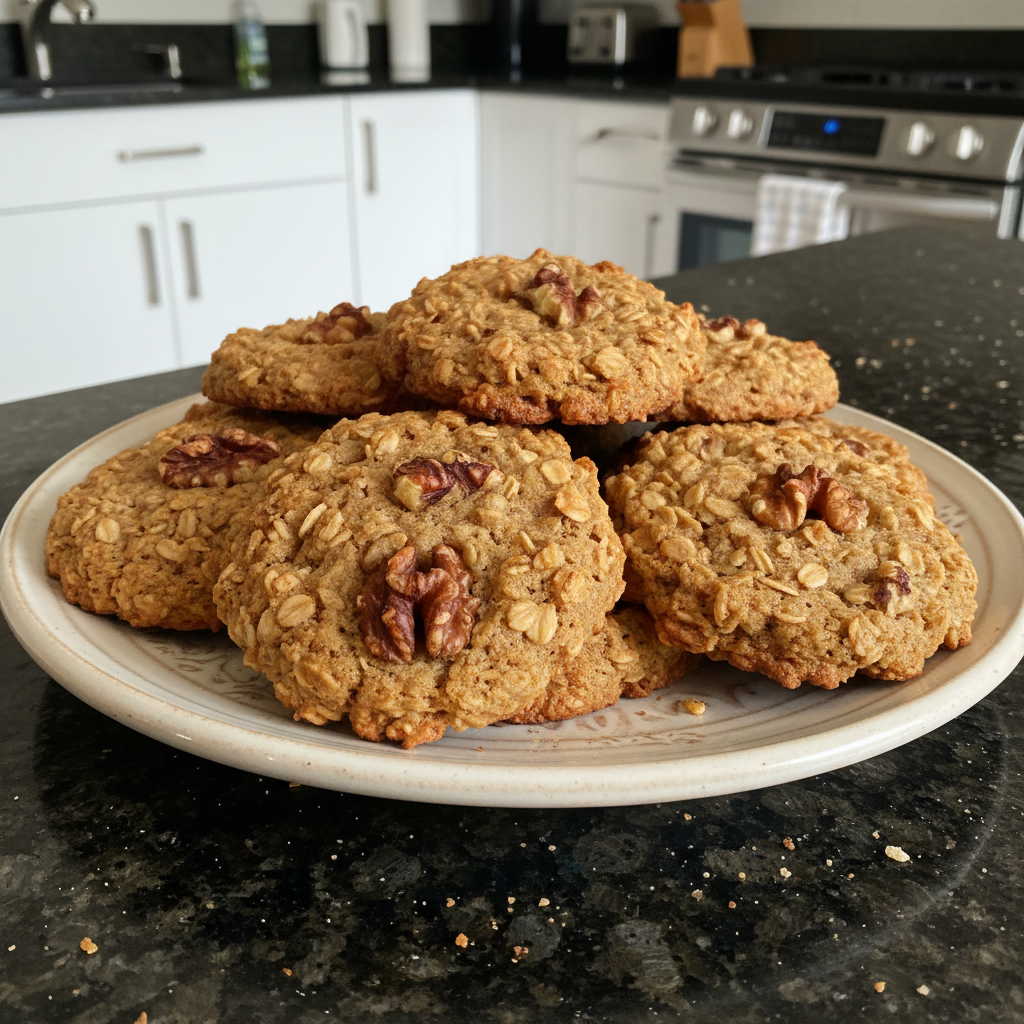
- Experiment with different sweeteners and extracts to find your favorite flavor combination. Speaking of sweeteners, you might like this persimmon cookies soft spiced recipe!
Common Mistakes to Avoid
- Using quick oats instead of rolled oats.
- Over-blending the mixture.
- Squeezing the nut milk bag too hard.
- Not chilling the oat milk long enough.
- Using warm water.
Serving & Storage
Here are some ideas for serving and storing your delicious homemade oat milk.
Serving Ideas
- Added to coffee or tea. If you’re wondering about how heating oat milk affects the taste and texture check out our guide on heating oat milk and its applications in warm beverages
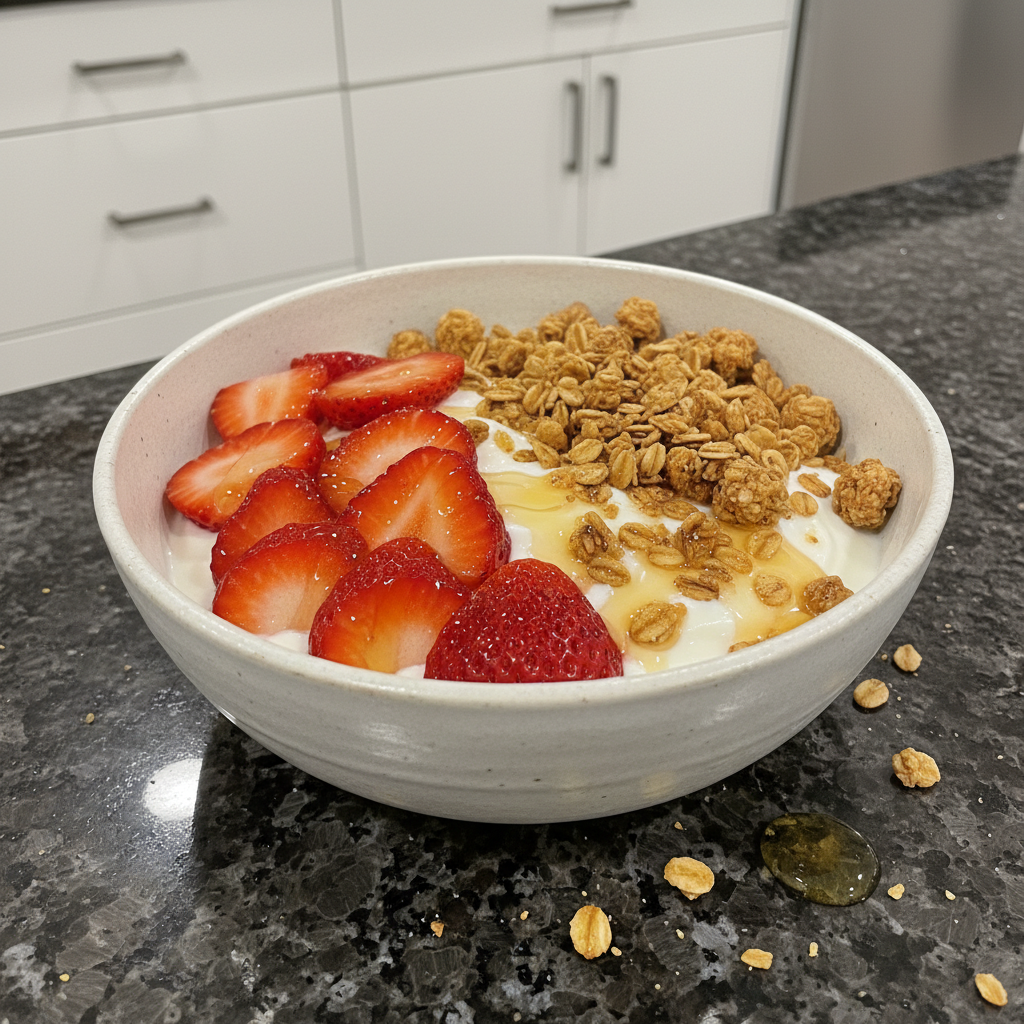
- Poured over cereal or granola.
- Used in smoothies.
- Incorporated into baked goods.
- Used as a base for creamy soups or sauces. If you enjoy making your own base for creamy soups, then you should try this creamy vegan potato soup recipe.
Storage and Make-Ahead
Store homemade oat milk in an airtight container in the refrigerator for up to 4 days.
For information about the shelf life and safe storage of plant-based milks, you can consult resources from food safety organizations, such as this guide on food storage.
Freezing: While you can freeze oat milk, the texture may change slightly upon thawing. It’s best to use it in smoothies or baking after freezing. Freeze in ice cube trays for easy portioning.
Conclusion
Making homemade oat milk is incredibly easy, and the results are so much better than store-bought! The baking soda trick ensures a smooth, non-slimy texture that you’ll love. It is dairy-free and vegan so you can relax knowing its safe to consume. Experiment with different flavors and sweeteners to create your perfect oat milk blend.
Print this recipe and enjoy fresh, creamy oat milk all week long!
FAQ
Here are some frequently asked questions about making homemade oat milk:
What is the best type of oats to use for homemade oat milk?
Use old-fashioned rolled oats. Quick oats and steel-cut oats are not recommended.
Why does oat milk sometimes turn slimy, and how can I prevent it?
Sliminess is caused by enzymatic activity breaking down the starches in the oats. Adding a pinch of baking soda helps to prevent this.
How do I store homemade oat milk, and how long will it last?
Store it in the refrigerator for up to 4 days.
Can I heat oat milk for lattes and coffee without it becoming too thick?
Yes, but heat gently. Avoid boiling, as this can thicken the milk. Give this homemade dried orange slices a try for your next coffee!
What type of strainer is best for oat milk?
Nut milk bags, cheesecloth, and fine-mesh sieves are all good options. Nut milk bags are reusable and effective.
Can I use quick oats?
No, quick oats will result in a slimy texture.
Easy Homemade Oat Milk Recipe (No Slimy Texture!)
Ingredients
Equipment
Method
- Stir the vanilla and brown sugar into the cold water until dissolved. Make sure the sugar is fully dissolved to prevent a gritty texture in your final product.
- Add the rolled oats, salt, and the cold water mixture to a blender. For the best texture, also add a pinch of baking soda (⅛ tsp per 4 cups of water) now. Blend on high for 30 seconds. Be careful not to over-blend, as this can lead to a slimy texture.
- Pour the blended oat mixture through a strainer to filter out the oat pieces. You can use a nut bag, cheesecloth, a metal coffee filter, or even a double layer of sieves. A nut bag is reusable and very effective. Cheesecloth is inexpensive, but might let some sediment through. Avoid squeezing the bag too hard, as this releases more starch and can cause a slimy texture. If you want to explore other methods for straining your homemade oat milk check out our related artical on different straining methods
- Chill the oat milk completely, preferably overnight. This allows the flavors to meld and the texture to improve. Shake well before serving. Keep it refrigerated for up to four days.
Notes
Lia Monet is a food blogger, recipe developer, and the founder of EasyAsMeals, a food blog focused on easy recipes, quick dinners, and everyday home cooking. She creates tested, family-friendly recipes using simple ingredients to help busy families cook affordable and delicious meals at home.