Easter baking doesn’t have to be complicated! These 3 ingredient Oreo Easter treats are a simple and delicious way to celebrate the holiday. This recipe is so easy, even the kids can help. Get ready to learn how to make adorable no-bake Oreo truffles shaped like Easter eggs with our super simple recipe (plus sprinkles, of course!). These 3 ingredient Oreo Easter treats are fun to make and even more fun to eat. Plus, I’ll share my tips for easy melting and decorating.
Why You’ll Love This Recipe
These Oreo Easter egg treats are more than just a simple recipe; they’re a delightful experience. Here’s why you’ll keep coming back to this recipe:
Salty-Sweet Perfection: The secret ingredient is a tiny pinch of salt in the Oreo crumb mixture and salted butter on your hands while shaping. This enhances the sweetness of the Oreos and cream cheese and balances the richness of the candy melts.
No-Bake Simplicity: Forget about turning on the oven. These treats require no baking at all, making them perfect for a quick and easy dessert.
Fun for All Ages: Get the kids involved in shaping and decorating the eggs. It’s a great activity to do together.
Minimal Ingredients, Maximum Flavor: With just 3 main ingredients (plus sprinkles!), this recipe is budget-friendly and requires minimal shopping.
Ingredients Needed
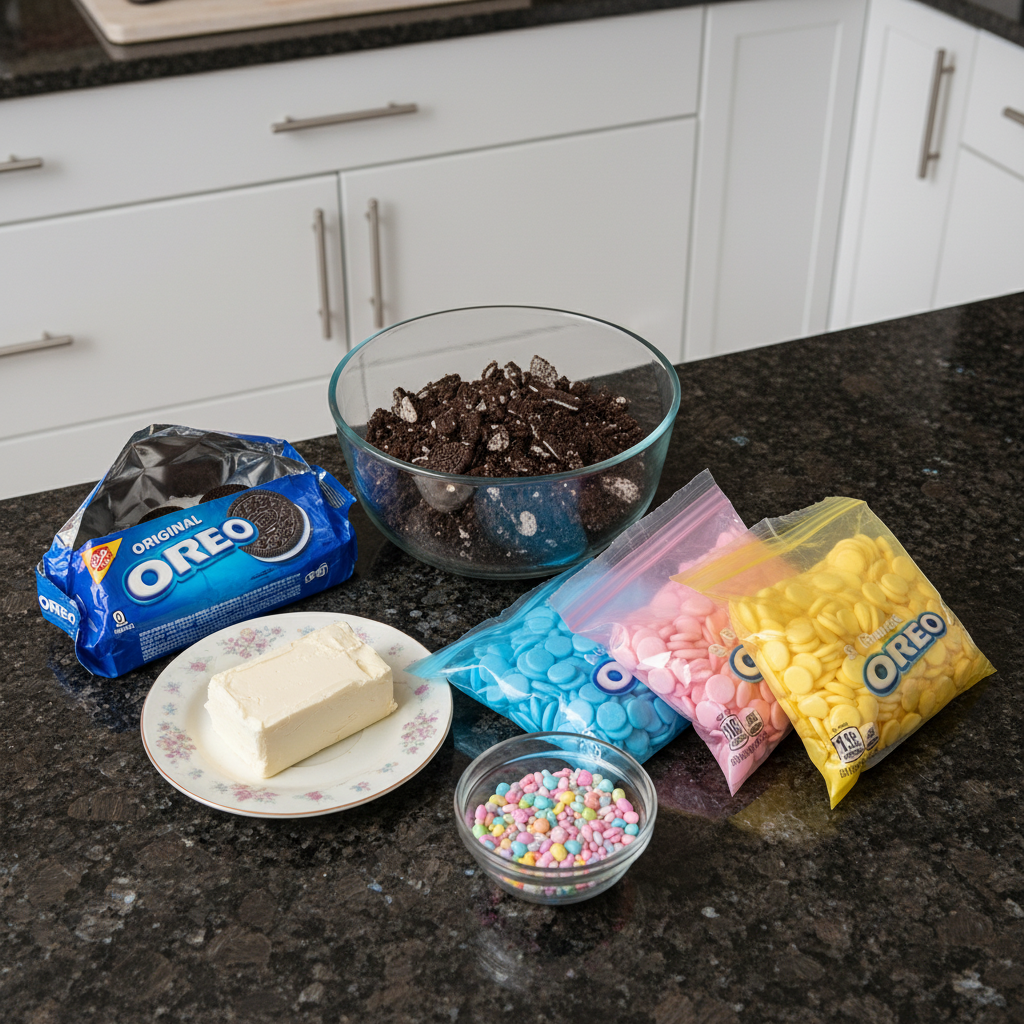
- 8 ounces cream cheese ((softened))
- 19.1 ounces Oreo cookies
- 4-6 8 ounce bags candy melts in various colors ((almond bark may also be used))
- Easter sprinkles
Ingredient Notes & Substitutions
Oreos: Feel free to experiment with different flavors of Oreos, such as Golden Oreos or Mint Oreos, to create your own unique flavor variations.
Cream Cheese: It’s crucial to use softened cream cheese for a smooth and creamy truffle mixture. I recommend using full-fat cream cheese for the best results, but low-fat cream cheese can also work.
Candy Melts: Almond bark can be used as a substitute for candy melts. Keep in mind that the texture and flavor will be slightly different. Candy melts come in a wide variety of colors and flavors, so have fun experimenting. Use high-quality candy melts to avoid seizing.
Easter Sprinkles: Any type of sprinkles can be used to decorate these treats, such as nonpareils, jimmies, or sanding sugar.
How to Make 3 Ingredient Oreo Easter Treats
Let’s get started making these delicious Easter treats! Follow these simple steps for perfect results every time.
Step 1: Prep the Baking Sheet
Line a large baking sheet with parchment paper. This prevents the Oreo eggs from sticking and makes cleanup a breeze.
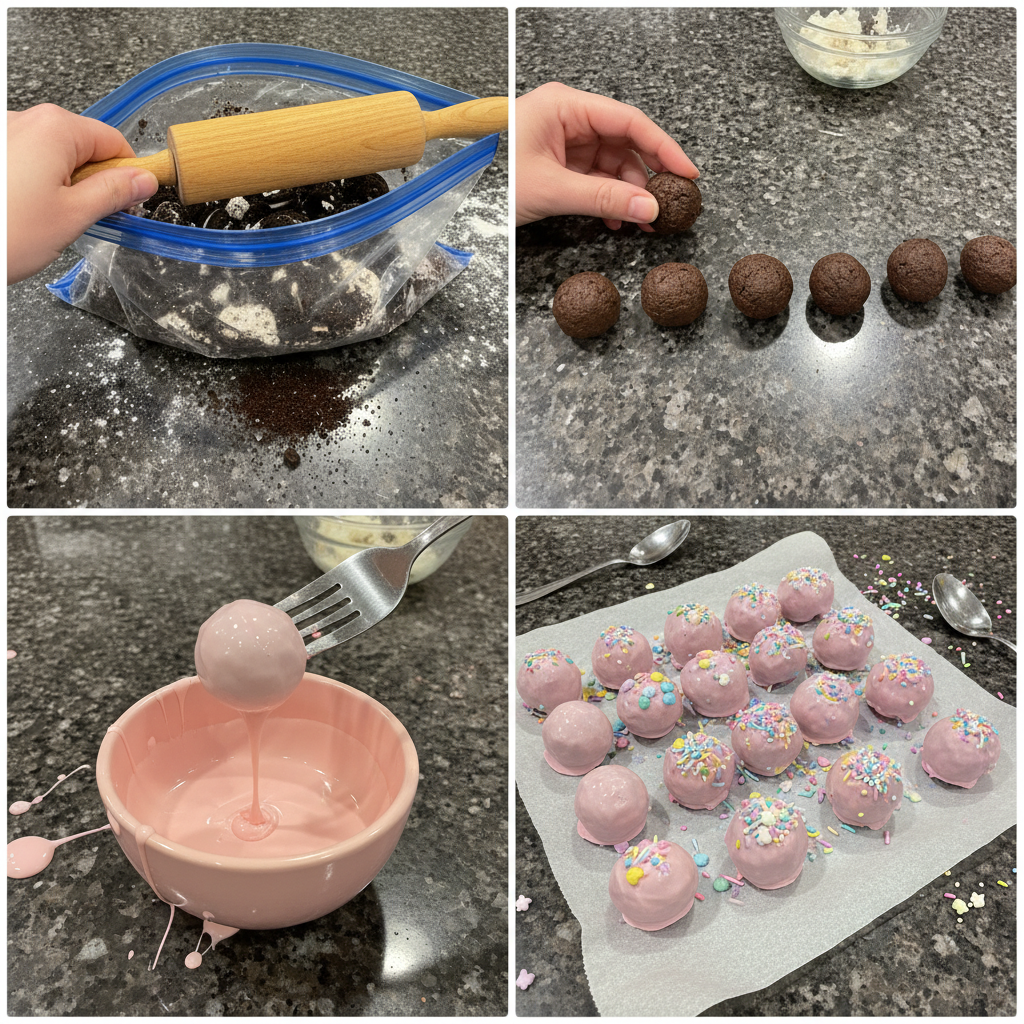
Step 2: Crush the Oreos
Put the Oreos into a food processor and pulse until you get them to a crumb consistency, no big pieces left. If you don’t have a food processor, you can place the Oreos in a zip-top bag and crush them with a rolling pin until they are a fine, sandy texture.
Step 3: Combine Oreo Crumbs and Cream Cheese
Combine the Oreo crumbs with the softened cream cheese in a large bowl with either a hand or stand mixer. Make sure to fully incorporate the cream cheese until a smooth, uniform dough forms.
Step 4: Shape the Truffles
Use a 1 1/2 tablespoon cookie scoop to scoop a ball of the mixture and gently shape it into an egg shape with your hands. I like to use a little salted butter or shortening on my hands to prevent the dough from sticking, it helps a lot!
Step 5: Freeze the Eggs
Place the the eggs on the prepared baking sheet and freeze for 30 minutes. Freezing helps the truffles hold their shape during dipping.
Step 6: Melt the Candy Melts
While the eggs are chilling, melt one color of candy melts in the microwave for 30 seconds, stir, then repeat in 30 second increments until it is fully melted and smooth. Be careful not to overheat the candy melts. See my detailed guide below!
For more information on how to melt chocolate properly, you can check out this guide on melting chocolate from Ghirardelli.
Step 7: Dip the Eggs
Use two forks to dip each egg into the melted candy melts. Submerge the egg completely, lift with the forks, and gently tap off any excess before placing it back on the parchment paper. Immediately top with sprinkles before the coating sets.
Step 8: Repeat the Dipping Process
Repeat melting candy melts and dipping for each different color until all eggs are coated.
Step 9: Drizzle with More Candy
Drizzle the tops of the eggs with different color melted candy melts. For best results, use a piping bag or a ziplock bag with a small corner cut off.
Step 10: Serve and Enjoy
Serve and enjoy! These 3 ingredient Oreo Easter treats are best served chilled.
Melting Candy Melts: A Detailed Guide
Melting candy melts can be tricky, but with these tips, you’ll be a pro in no time!
Microwave Method
Place the candy melts in a microwave-safe bowl. Microwave in 30-second intervals, stirring well after each interval. Continue until the candy melts are fully melted and smooth. Be careful not to overheat, as this can cause the candy to seize.
Double Boiler Method
Fill a saucepan with about an inch of water and bring to a simmer. Place a heat-safe bowl on top of the saucepan, ensuring the bottom of the bowl does not touch the water. Add the candy melts to the bowl and stir occasionally until melted and smooth. This method allows for more even heating and control.
Troubleshooting Seizing
Candy melts seize when they come into contact with moisture. To prevent seizing, make sure your bowl and utensils are completely dry. Avoid steam when melting, and consider adding a small amount of vegetable shortening to the candy melts. I’m talking like, 1/2 tsp.
Rescuing Seized Candy Melts
If your candy melts seize, try adding a small amount of vegetable shortening (about 1 teaspoon) and stirring vigorously. This can sometimes help to smooth out the mixture.
Pro Tips & Troubleshooting
Pro Tips
- Use softened cream cheese for a smooth truffle mixture.
- Add a pinch of salt to the Oreo crumb mixture to enhance the flavor (it’s my secret!).
- Use salted butter on your hands when shaping the truffles to prevent sticking (game changer!).
- Freeze the truffles for at least 30 minutes before dipping to help them hold their shape.
- Melt candy melts in short intervals, stirring frequently to prevent burning.
- Use two forks for dipping to easily coat the truffles and remove excess candy.
- Immediately add sprinkles after dipping so they adhere to the melted candy.
- Drizzle with contrasting colors for a festive look.
Common Mistakes to Avoid
- Using cold cream cheese (results in lumpy mixture).
- Over-processing Oreos (can turn them into a paste).
- Overheating candy melts (causes them to seize).
- Not freezing truffles long enough (makes them difficult to dip).
- Dipping warm truffles (coating can melt).
- Adding sprinkles too late (they won’t stick).
- Using wet utensils when melting candy melts (causes seizing).
To understand more about why cream cheese is used in many desserts, you can read more about cream cheese and its culinary applications.
Serving & Storage
Serving Ideas
- Serve as a fun Easter dessert.
- Package them in cellophane bags for party favors.
- Include them in an Easter basket.
- Serve with a glass of milk or hot chocolate.
Storage and Make-Ahead
Refrigeration: Store leftover truffles in an airtight container in the refrigerator for up to 5 days (due to the cream cheese).
Freezing: These can be frozen after coating. Thaw in the refrigerator before serving.
Conclusion
These 3 ingredient Oreo Easter treats are the perfect combination of easy, no-bake, and delicious! They’re fun for kids and adults alike and are sure to be a hit at your Easter celebration. Don’t forget my secret ingredient: a pinch of salt to balance the sweetness! This recipe is so simple and straightforward that anyone can make it. Feel free to experiment with different Oreo flavors or sprinkle combinations to create your own unique treats. Print this recipe and share it with your friends!
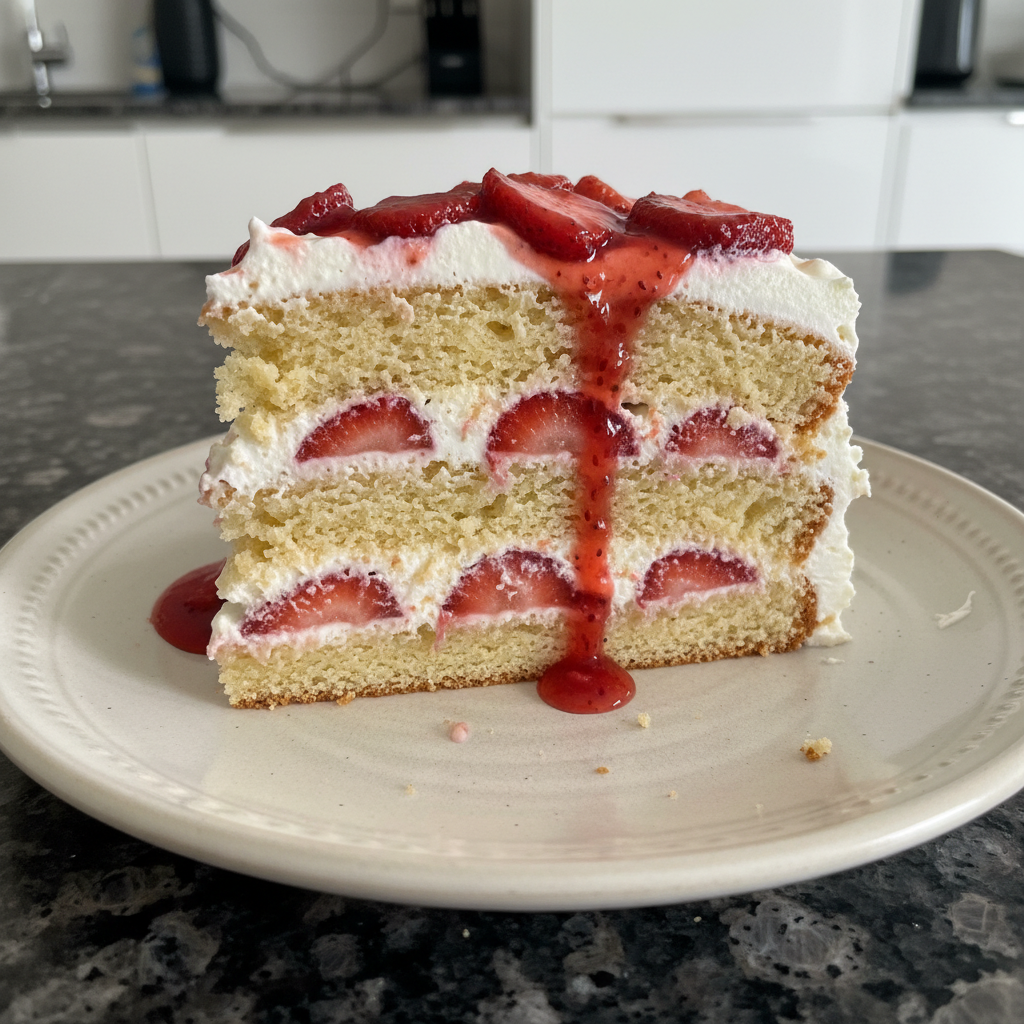
Looking for another easy no-bake dessert? You might enjoy these no-bake strawberries and cream tiramisu!
FAQ
What are Oreo truffles made of? Oreo truffles are typically made from crushed Oreo cookies and cream cheese, coated in chocolate or candy melts.
How long are Oreo truffles good for? Oreo truffles can last for up to 5 days in the refrigerator.
Do you have to refrigerate Oreo truffles? Yes, Oreo truffles need to be refrigerated because they contain cream cheese.
Can I use almond bark instead of candy melts? Yes, you can use almond bark as a substitute for candy melts, but the flavor and texture will be slightly different.
Speaking of simple desserts, have you ever tried cherry cheesecake icebox cake? It is perfect for parties!
How do I prevent the candy melts from seizing? To prevent candy melts from seizing, avoid getting any moisture in them. Use dry utensils and melt them in short intervals, stirring frequently.
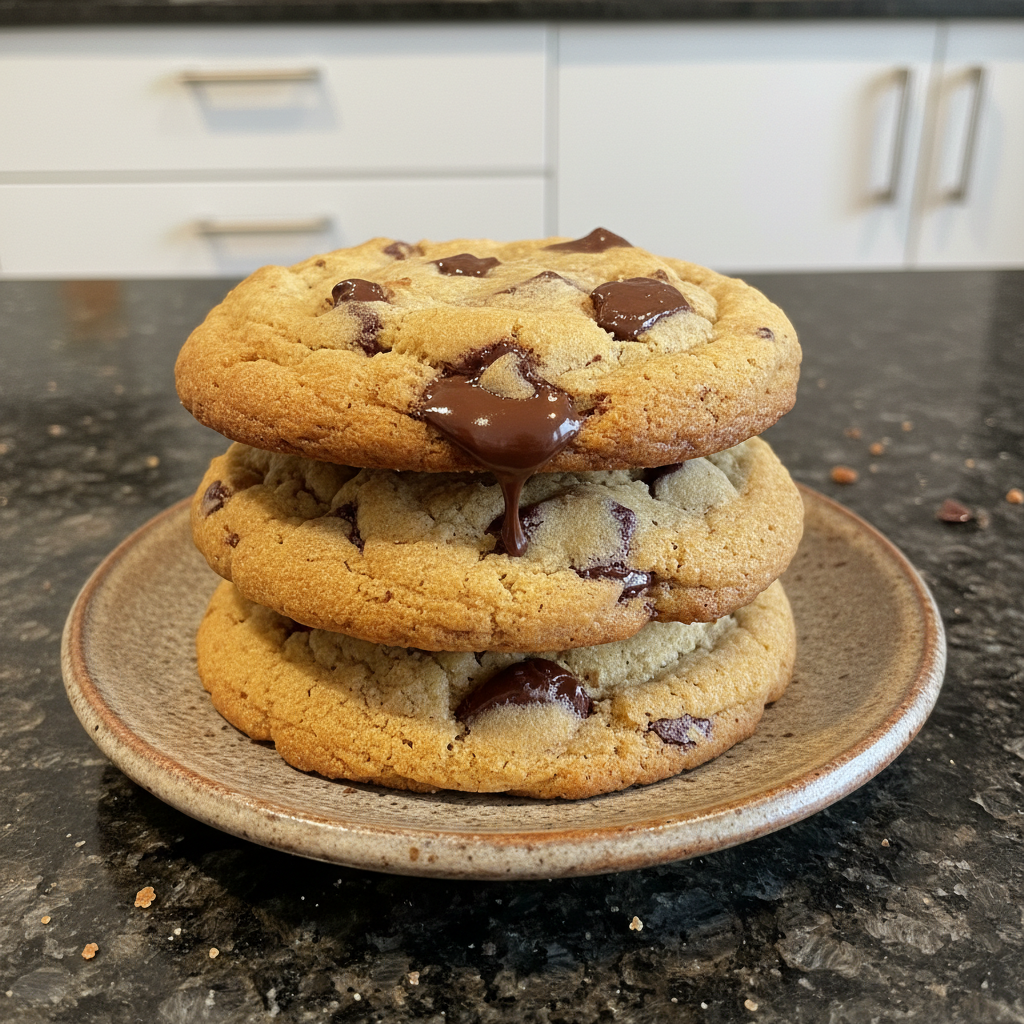
If you love easy recipes like this, you may enjoy this red velvet oreo cookies recipe!

Easy 3-Ingredient Oreo Easter Egg Treats
Ingredients
Method
- Line a large baking sheet with parchment paper. This prevents the Oreo eggs from sticking and makes cleanup a breeze.
- Put the Oreos into a food processor and pulse until you get them to a crumb consistency, no big pieces left. If you don't have a food processor, you can place the Oreos in a zip-top bag and crush them with a rolling pin until they are a fine, sandy texture.
- Combine the Oreo crumbs with the softened cream cheese in a large bowl with either a hand or stand mixer. Make sure to fully incorporate the cream cheese until a smooth, uniform dough forms.
- Use a 1 1/2 tablespoon cookie scoop to scoop a ball of the mixture and gently shape it into an egg shape with your hands. I like to use a little salted butter or shortening on my hands to prevent the dough from sticking, it helps a lot!
- Place the the eggs on the prepared baking sheet and freeze for 30 minutes. Freezing helps the truffles hold their shape during dipping.
- While the eggs are chilling, melt one color of candy melts in the microwave for 30 seconds, stir, then repeat in 30 second increments until it is fully melted and smooth. Be careful not to overheat the candy melts.
- Use two forks to dip each egg into the melted candy melts. Submerge the egg completely, lift with the forks, and gently tap off any excess before placing it back on the parchment paper. Immediately top with sprinkles before the coating sets.
- Repeat melting candy melts and dipping for each different color until all eggs are coated.
- Drizzle the tops of the eggs with different color melted candy melts. For best results, use a piping bag or a ziplock bag with a small corner cut off.
- Serve and enjoy! These 3 ingredient Oreo Easter treats are best served chilled.